Mechagodzilla Halloween Costume
Everybody loves giant robots
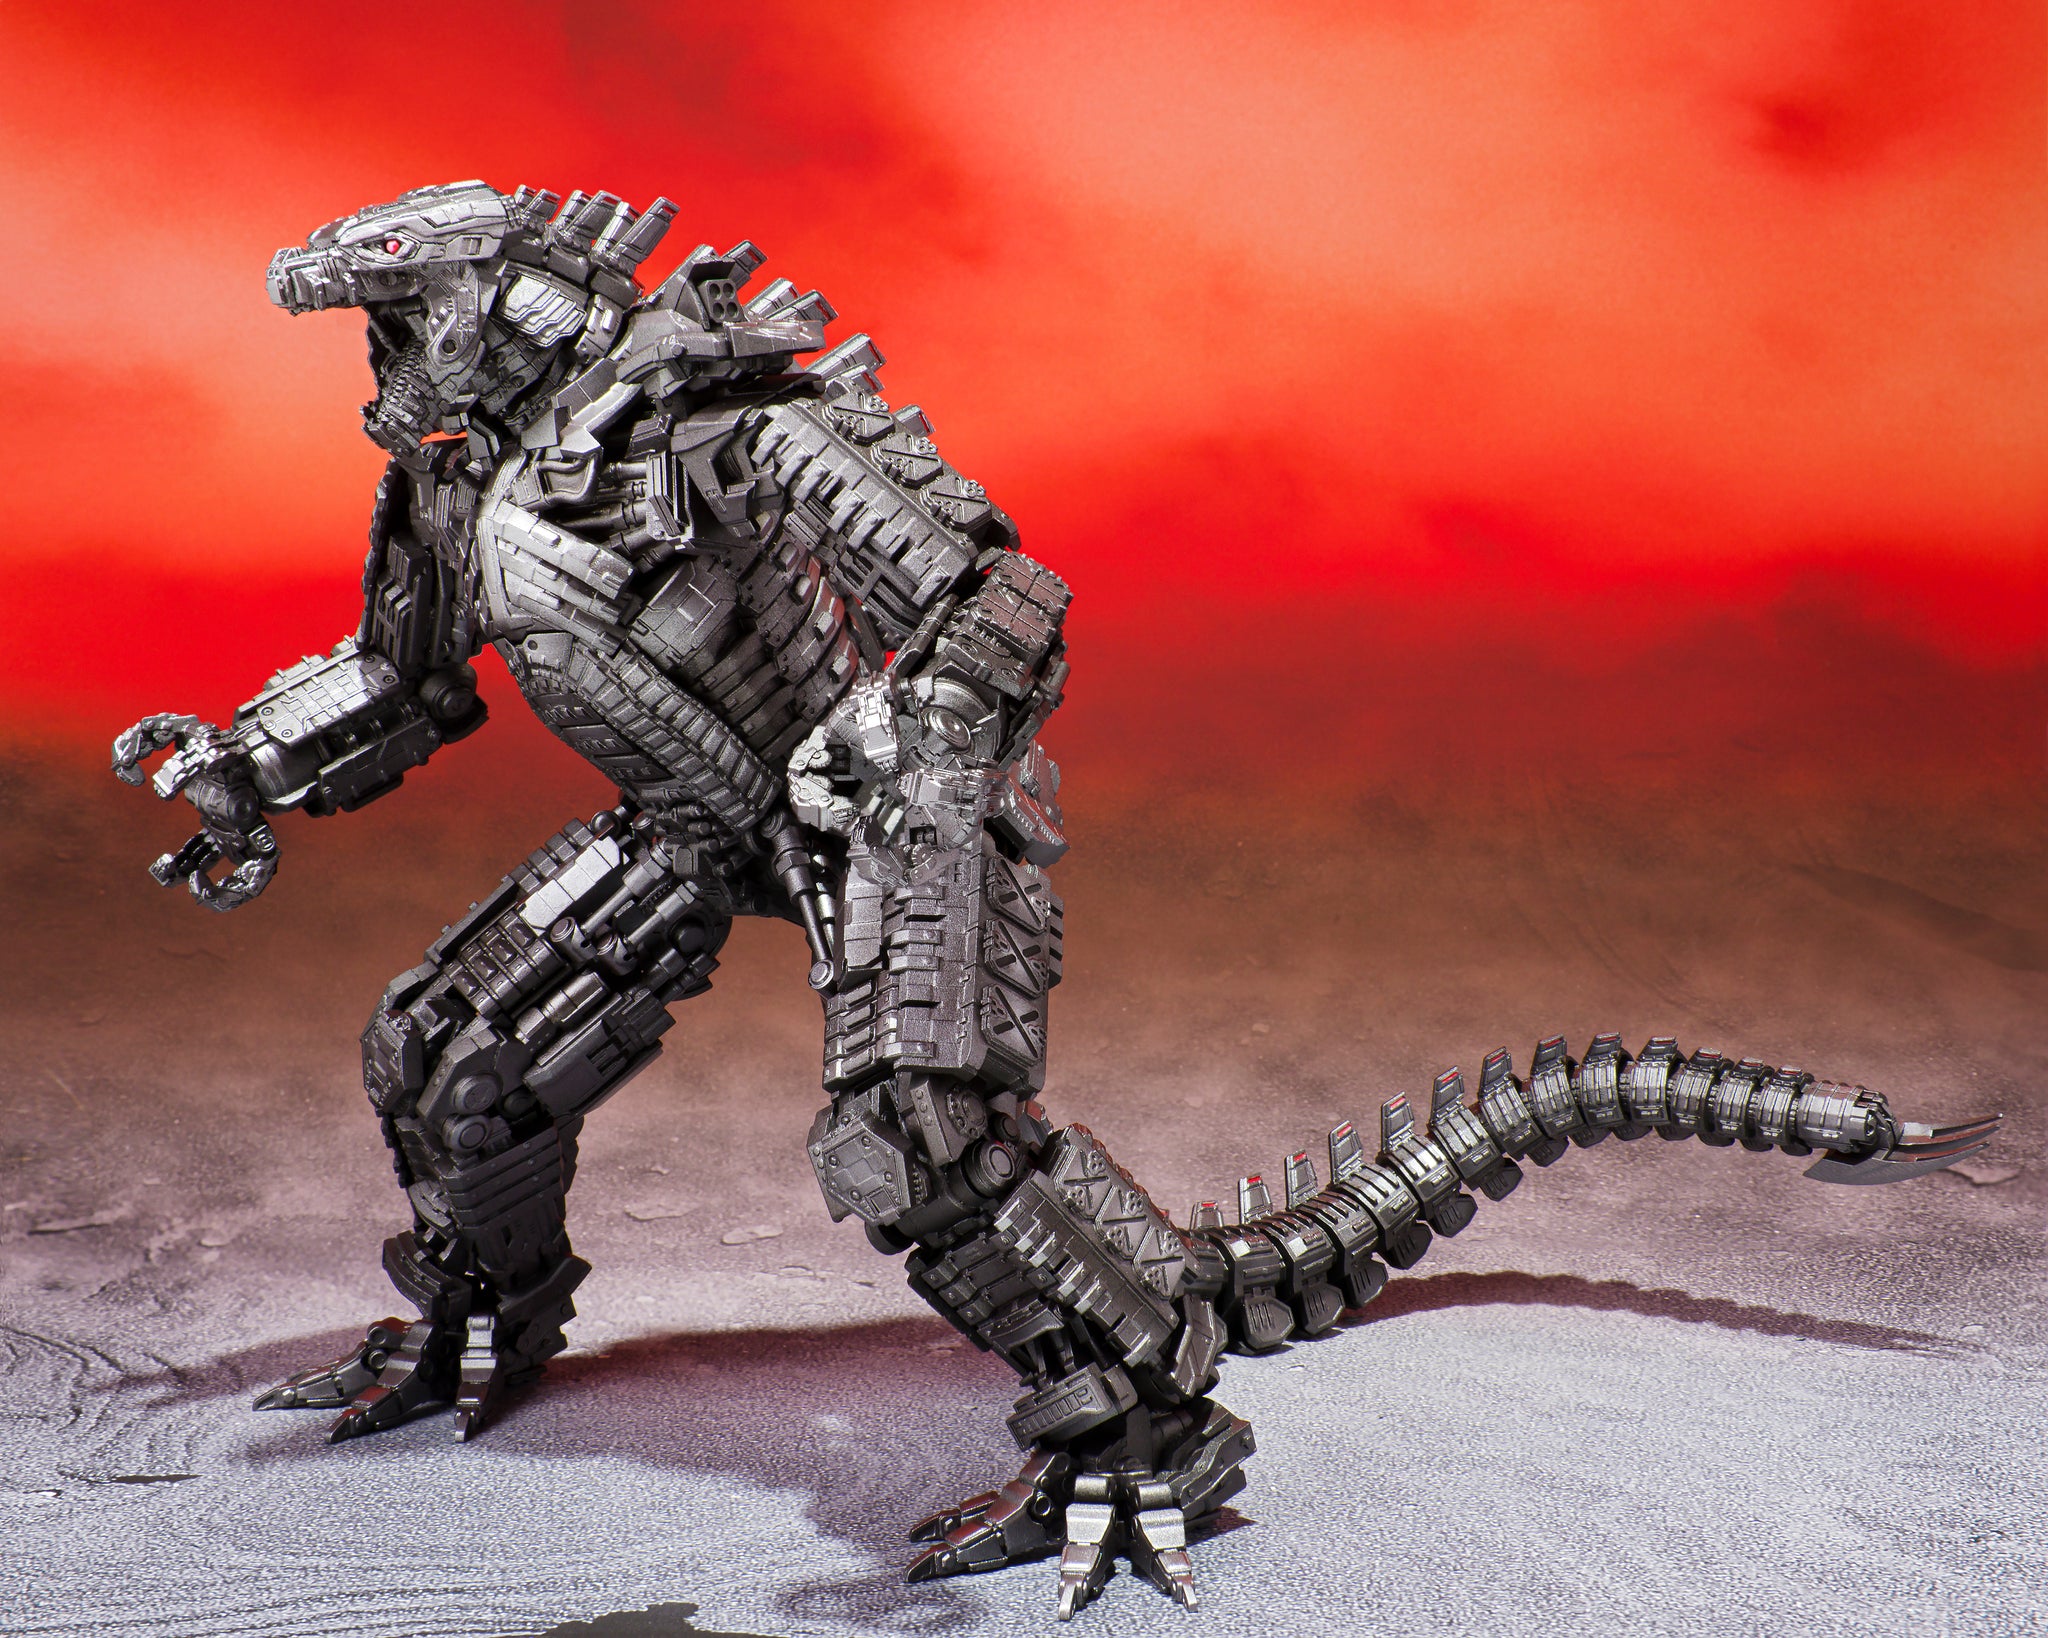
Our family had a great time making a Scarecrow Halloween Costume for my son, Nick, the previous year. For 2022, we decided to swing even bigger: a full body Mechagodzilla costume based on the version in Godzilla vs. Kong (2021).
Notably, this is the first Mechagodzilla design which wasn't intended to be portrayed by a person in a costume. The movie character was fully CGI and not based on human proportions. So...that was helpful.
The Plan
Mechagodzilla's design is loaded with high-frequency detail. He is rendered as a somewhat skeletal amalgamation of intricate parts with lots of glowing red interior lighting. It's no small trick to capture this in a solid costume.
We planned to construct a base of cardboard and EVA foam. We would then add specific 3D printed accents in key areas with LED lights throughout to sell the effect. To this we would add a foam tail. Everything would be painted a shiny silver metallic.
Using mostly cardboard ended up being a good choice as it is lighter and cheaper than foam and allowed us to reuse a material we already had rather than purchasing something new and non-biodegradable. We did use some foam in areas that needed extra strength, particularly parts that had to fit snugly against the body.
To kick off the design, process I used MakeHuman to generate a rigged model of an 8 year old with the same height as my son. I posed the model in Blender to match this model of Mechagodzilla. The Mechagodzilla model is broken up into hundreds of separate pieces which makes it impossible to 3D print properly as-is. However, with a bit of work I was able to pull individual pieces apart, clean them up, and printed just those.
The model also was a great visual reference since all of the pictures of Mechagodzilla online are stills from the movie or marketing pictures of action figures. The model allowed us to see in great detail many parts of the character that are not ordinarily visible. I also used this model to take measurements in Blender which I then used when constructing the costume to ensure a proper fit.
Cardboard, wire, foam, and glue
The first step was build a wireframe of the torso and head using 5mm aluminum wire. This was strong enough to hold the costume together rigidly while being very light and pliable enough to bend into shape by hand. With the frame assembled we could have Nick try putting it on and taking it off to ensure he could actually wear it once the rest of the costume was built (a critical requirement).
I then cut and glued/taped cardboard to the frame to craft the shape of the body while also representing some of the details present in the Mechagodzilla model. Notably, I wanted to capture the boat-hull like barrel chest with the sweeping ribs.
We used an obscene amount of hot glue and packing tape for all of the cardboard construction and, for the most part, it did the job.
While I was building the cardboard shell, my wife worked on constructing foam sleeves for the arms and legs which would have additional cardboard and 3D-printed greeblies attached to them. She created templates of Nick's arms and legs which allowed her to make close-fitting elastic-and-foam wraps which could easily slide on over a black undersuit and stay secure while walking around.
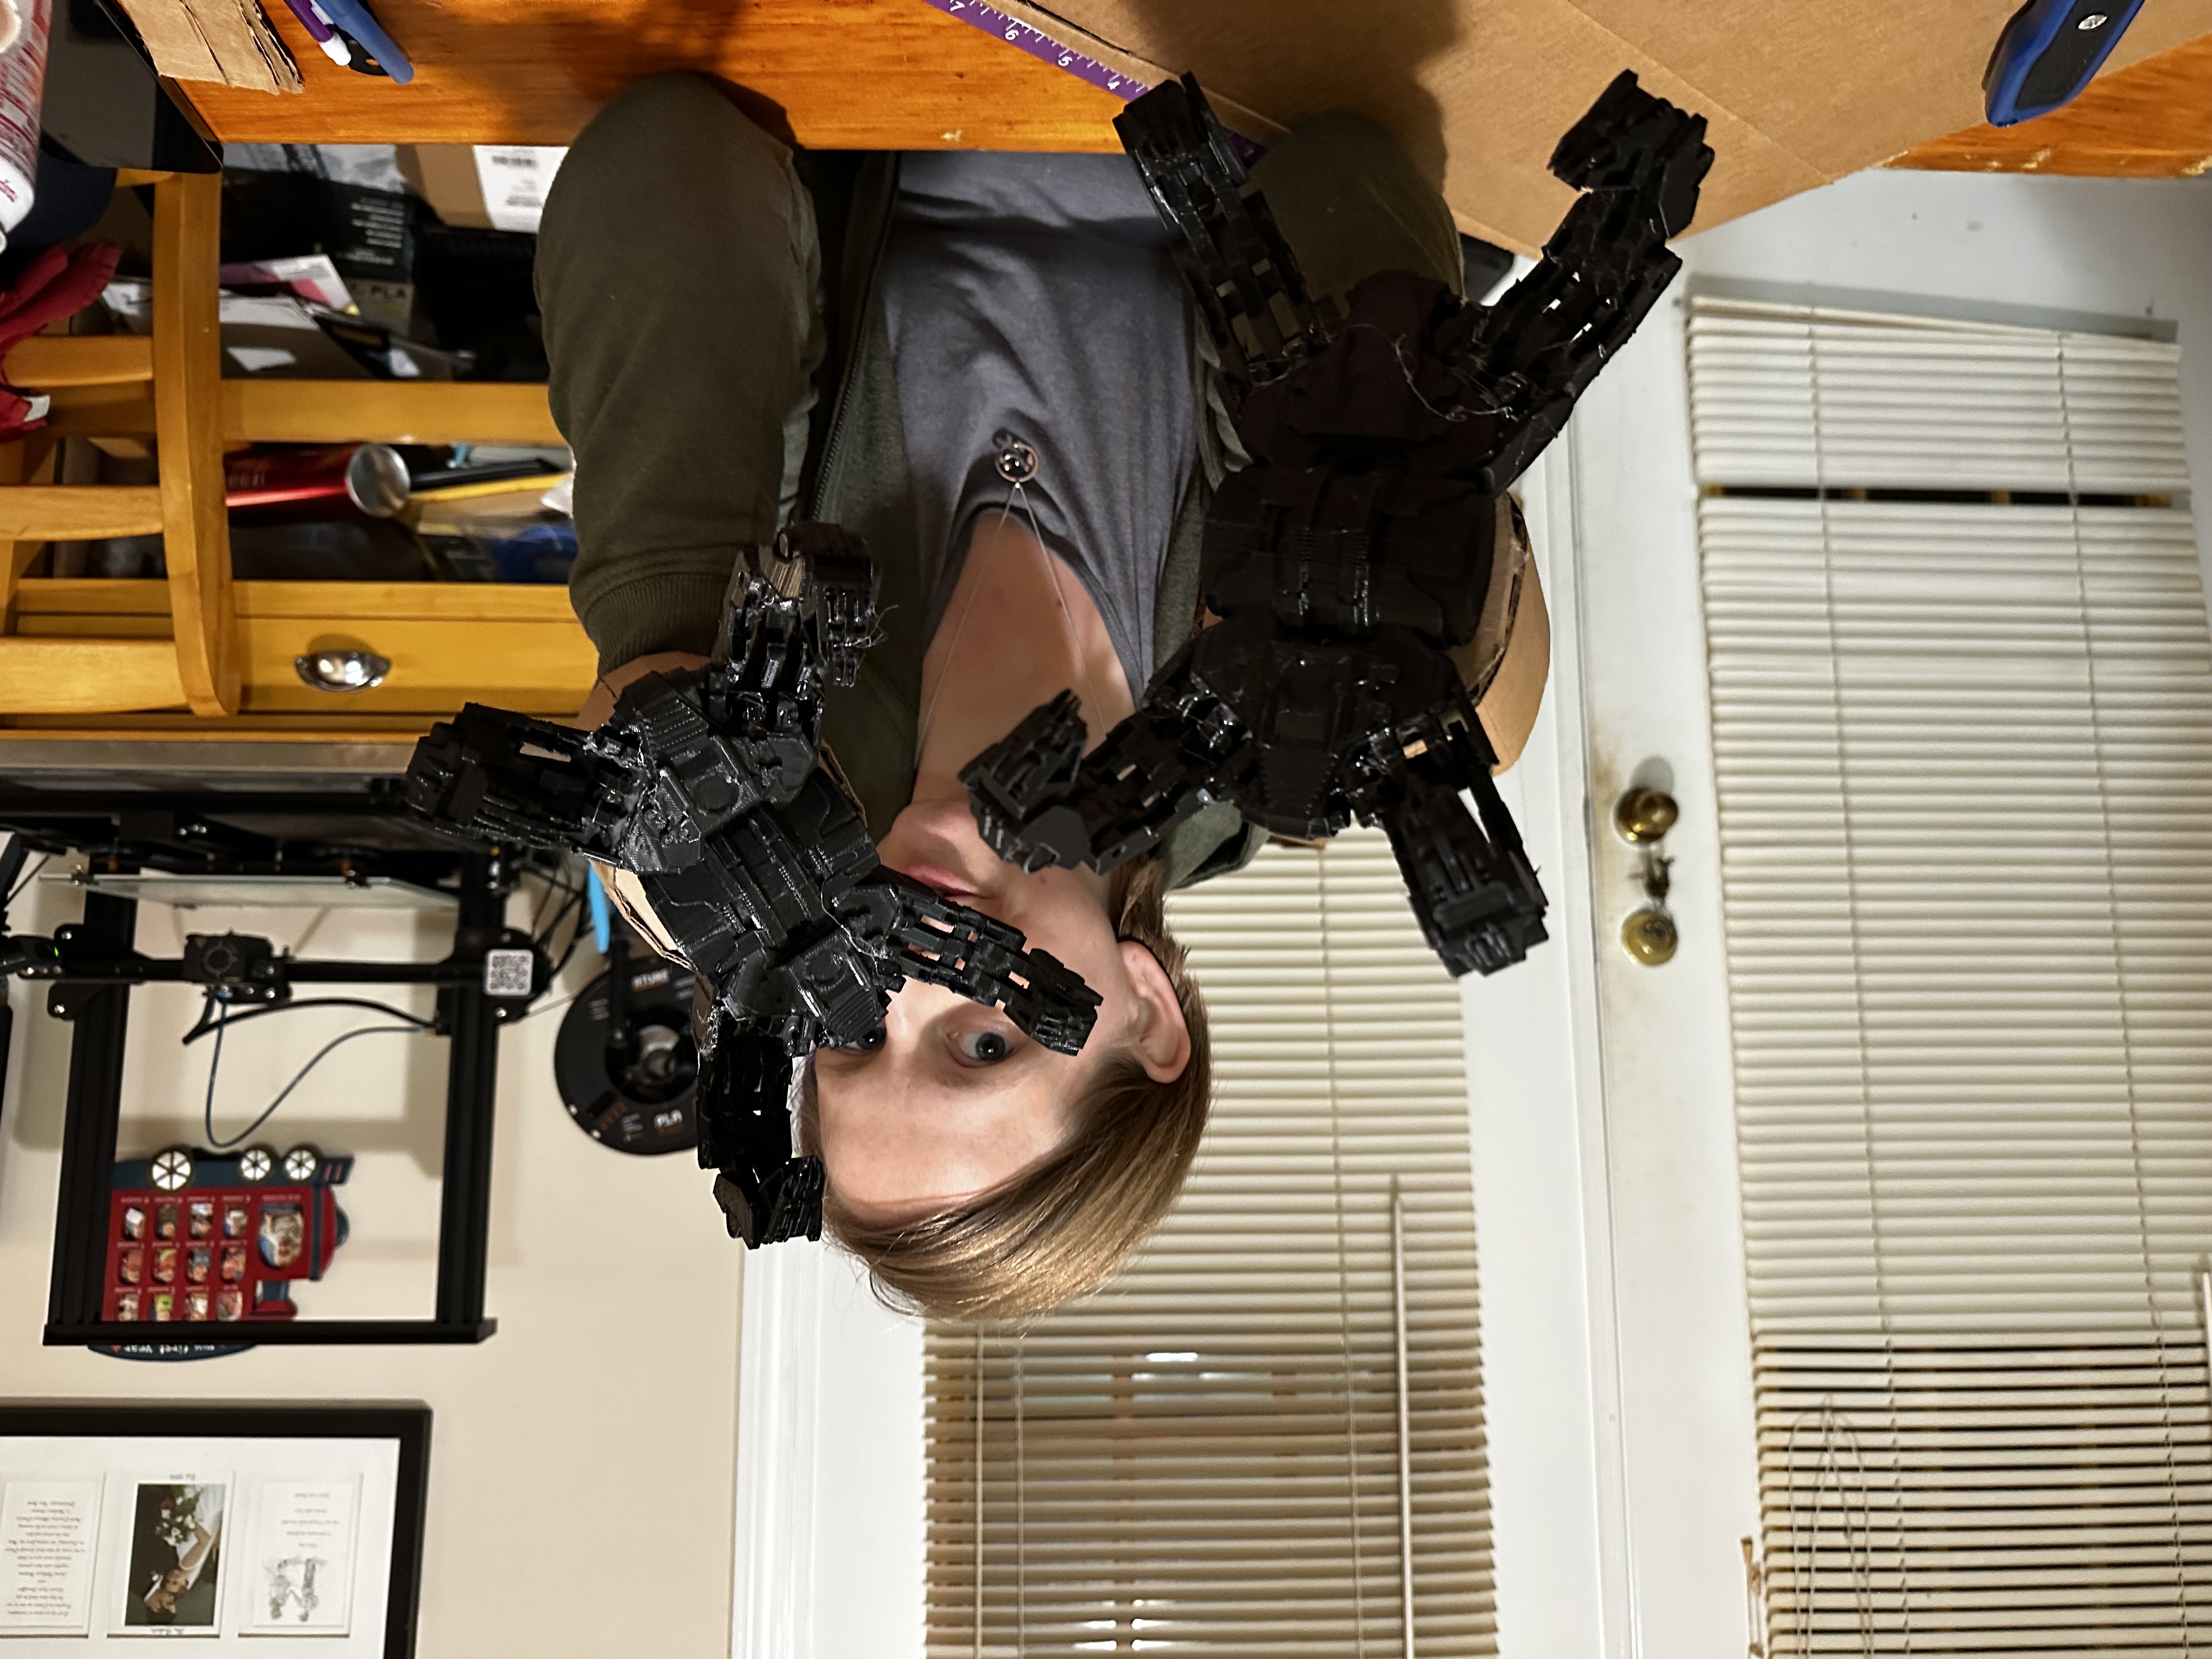
I also printed two full-sized hands and mounted them to wooden dowels for holding. A bonus goal was to make the hands work with a gripper mechanism but time was not on our side and the hands stayed static.
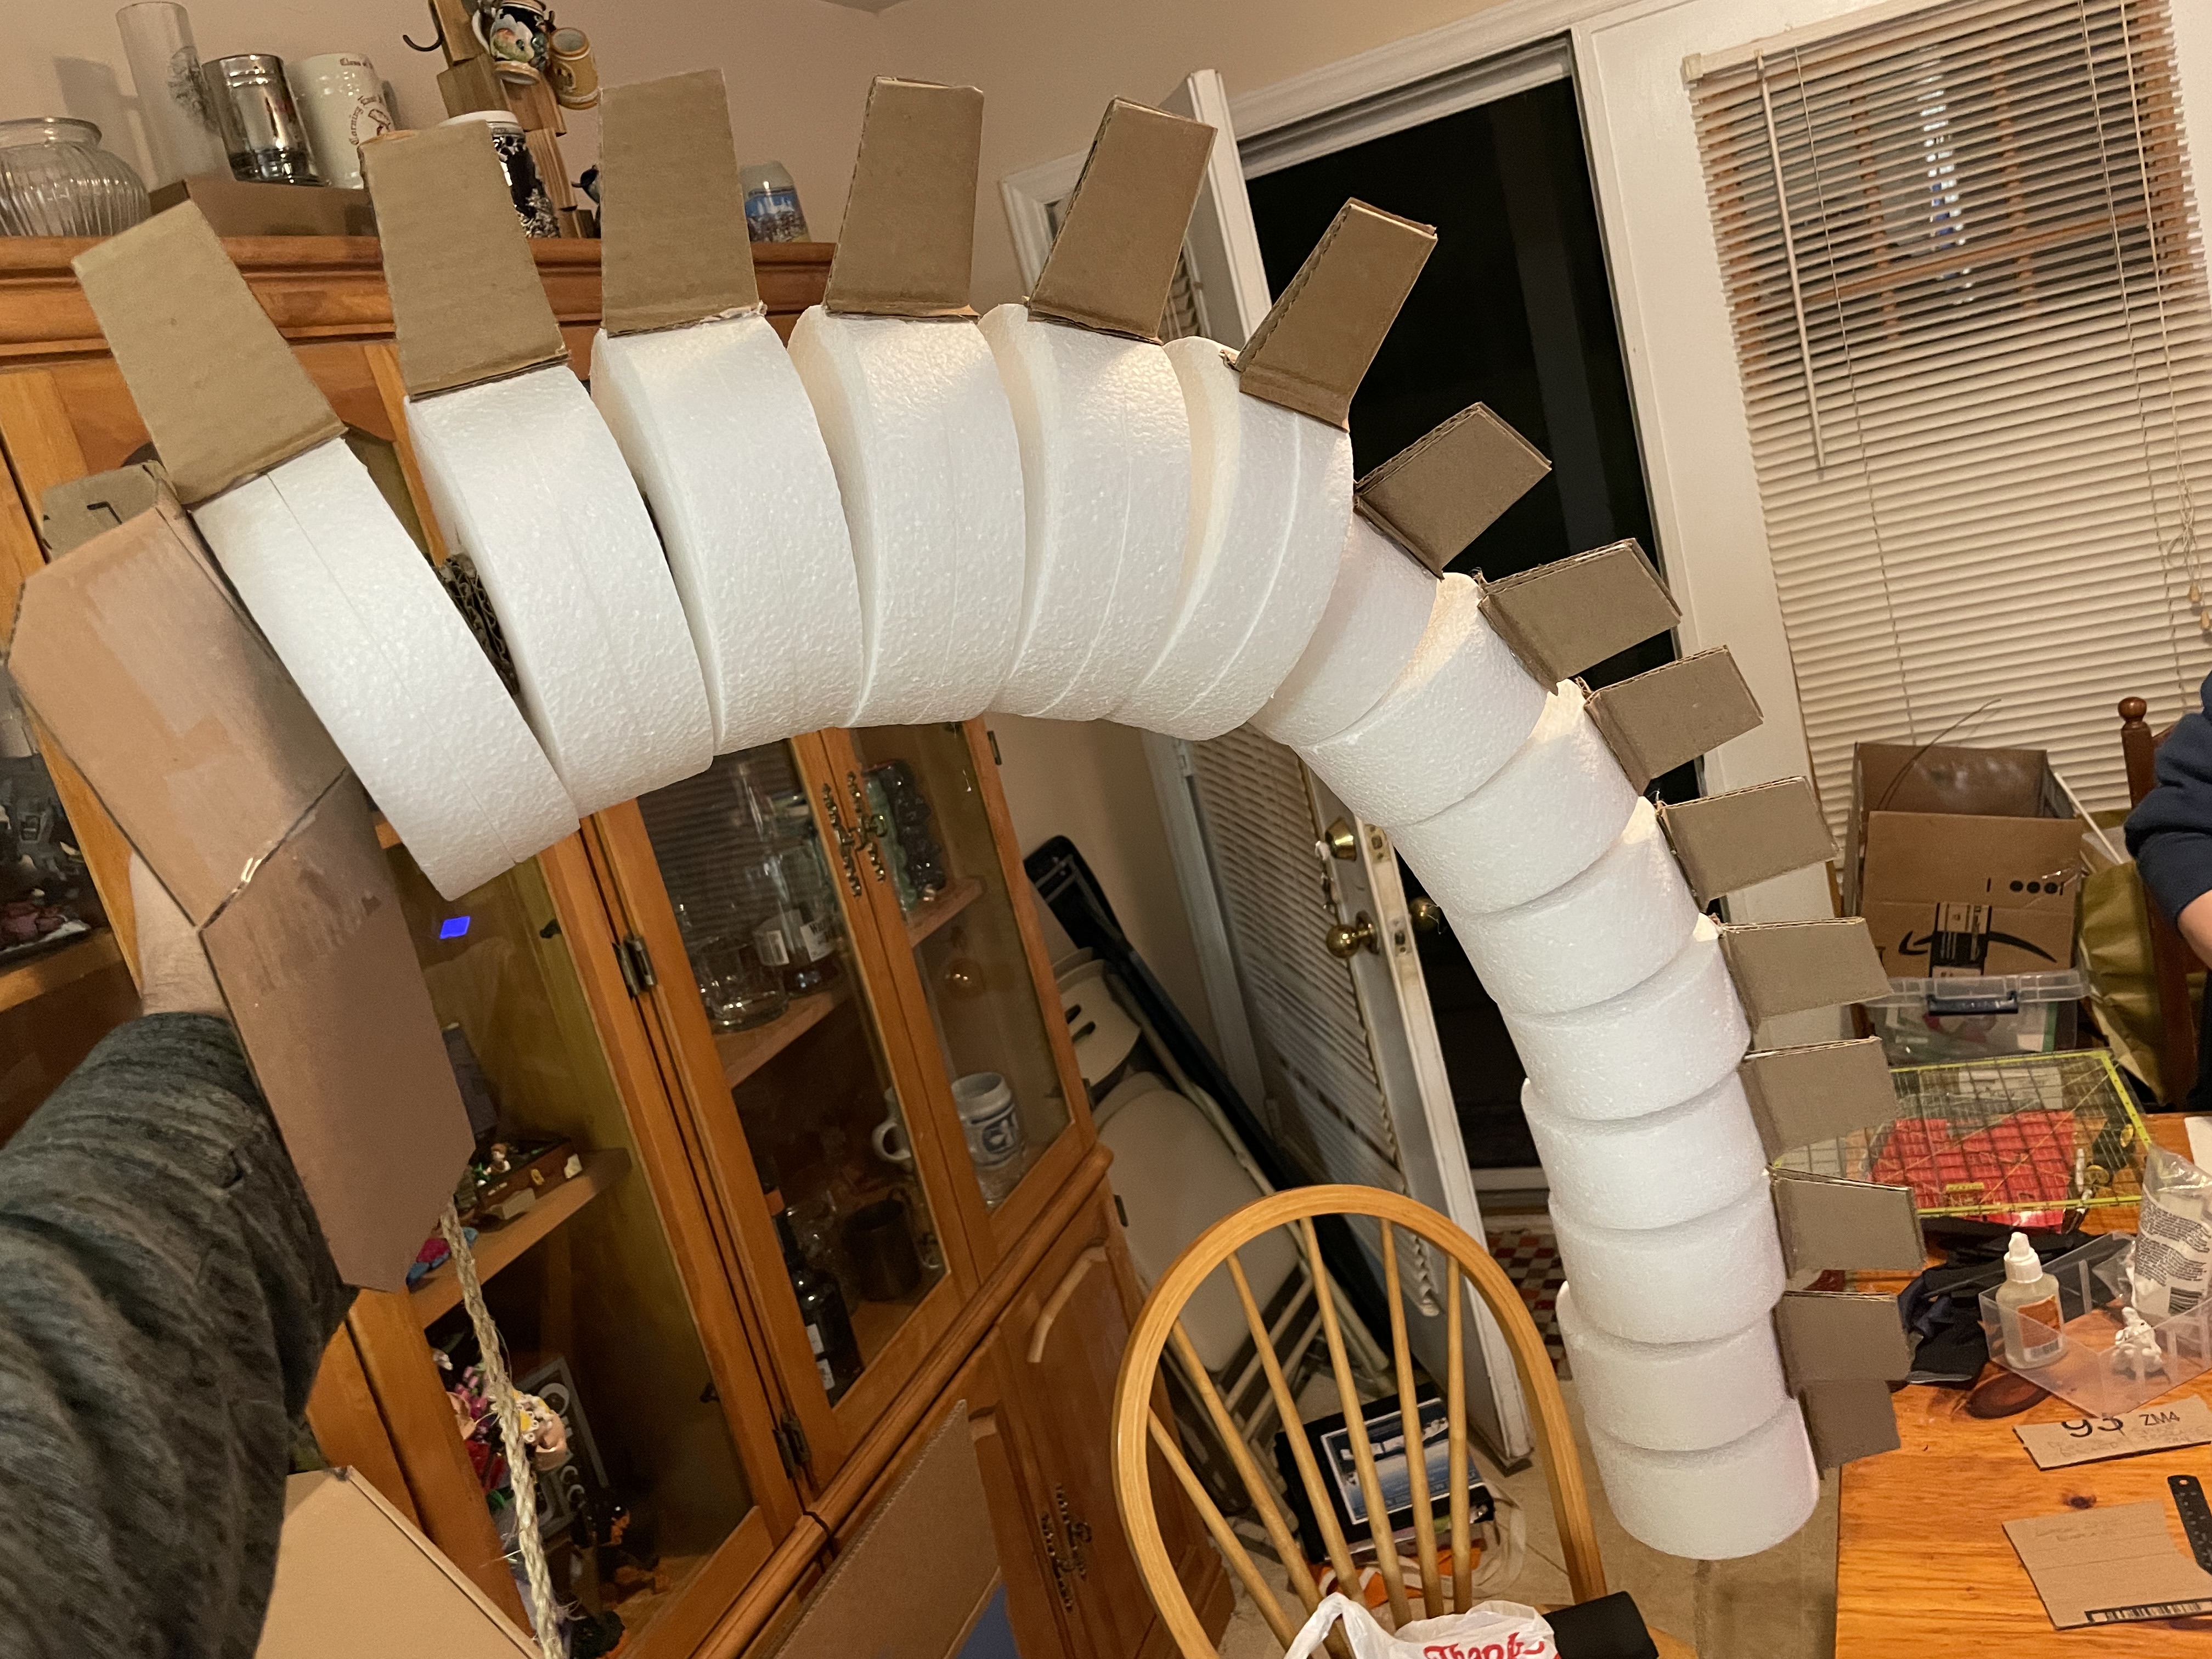
I built the tail by stringing several foam discs of various sizes along a length of thick rope. I added cardboard spacers between each tail segment and held each in place with hot glue. I added a cardboard fin to each segment. The tail was then mounted to a cardboard butt-plate which strapped firmly around Nick's waist with a nylon belt and clip. This allow the tail to be "performed" to a limited degree.
Lights
Mechagodzilla has three rows of spiky protrusions running down his back with lights in the tips of each spike. I changed this to two rows of lit spikes and two rows of cardboard spikes. The effect was similar but fit the costume size better and required less construction. Each spike was assembled with a 3D-printed base and cap connected by a box of EVA foam. The spikes were hollow to allow a section of RGB light strand to be shoved up inside.
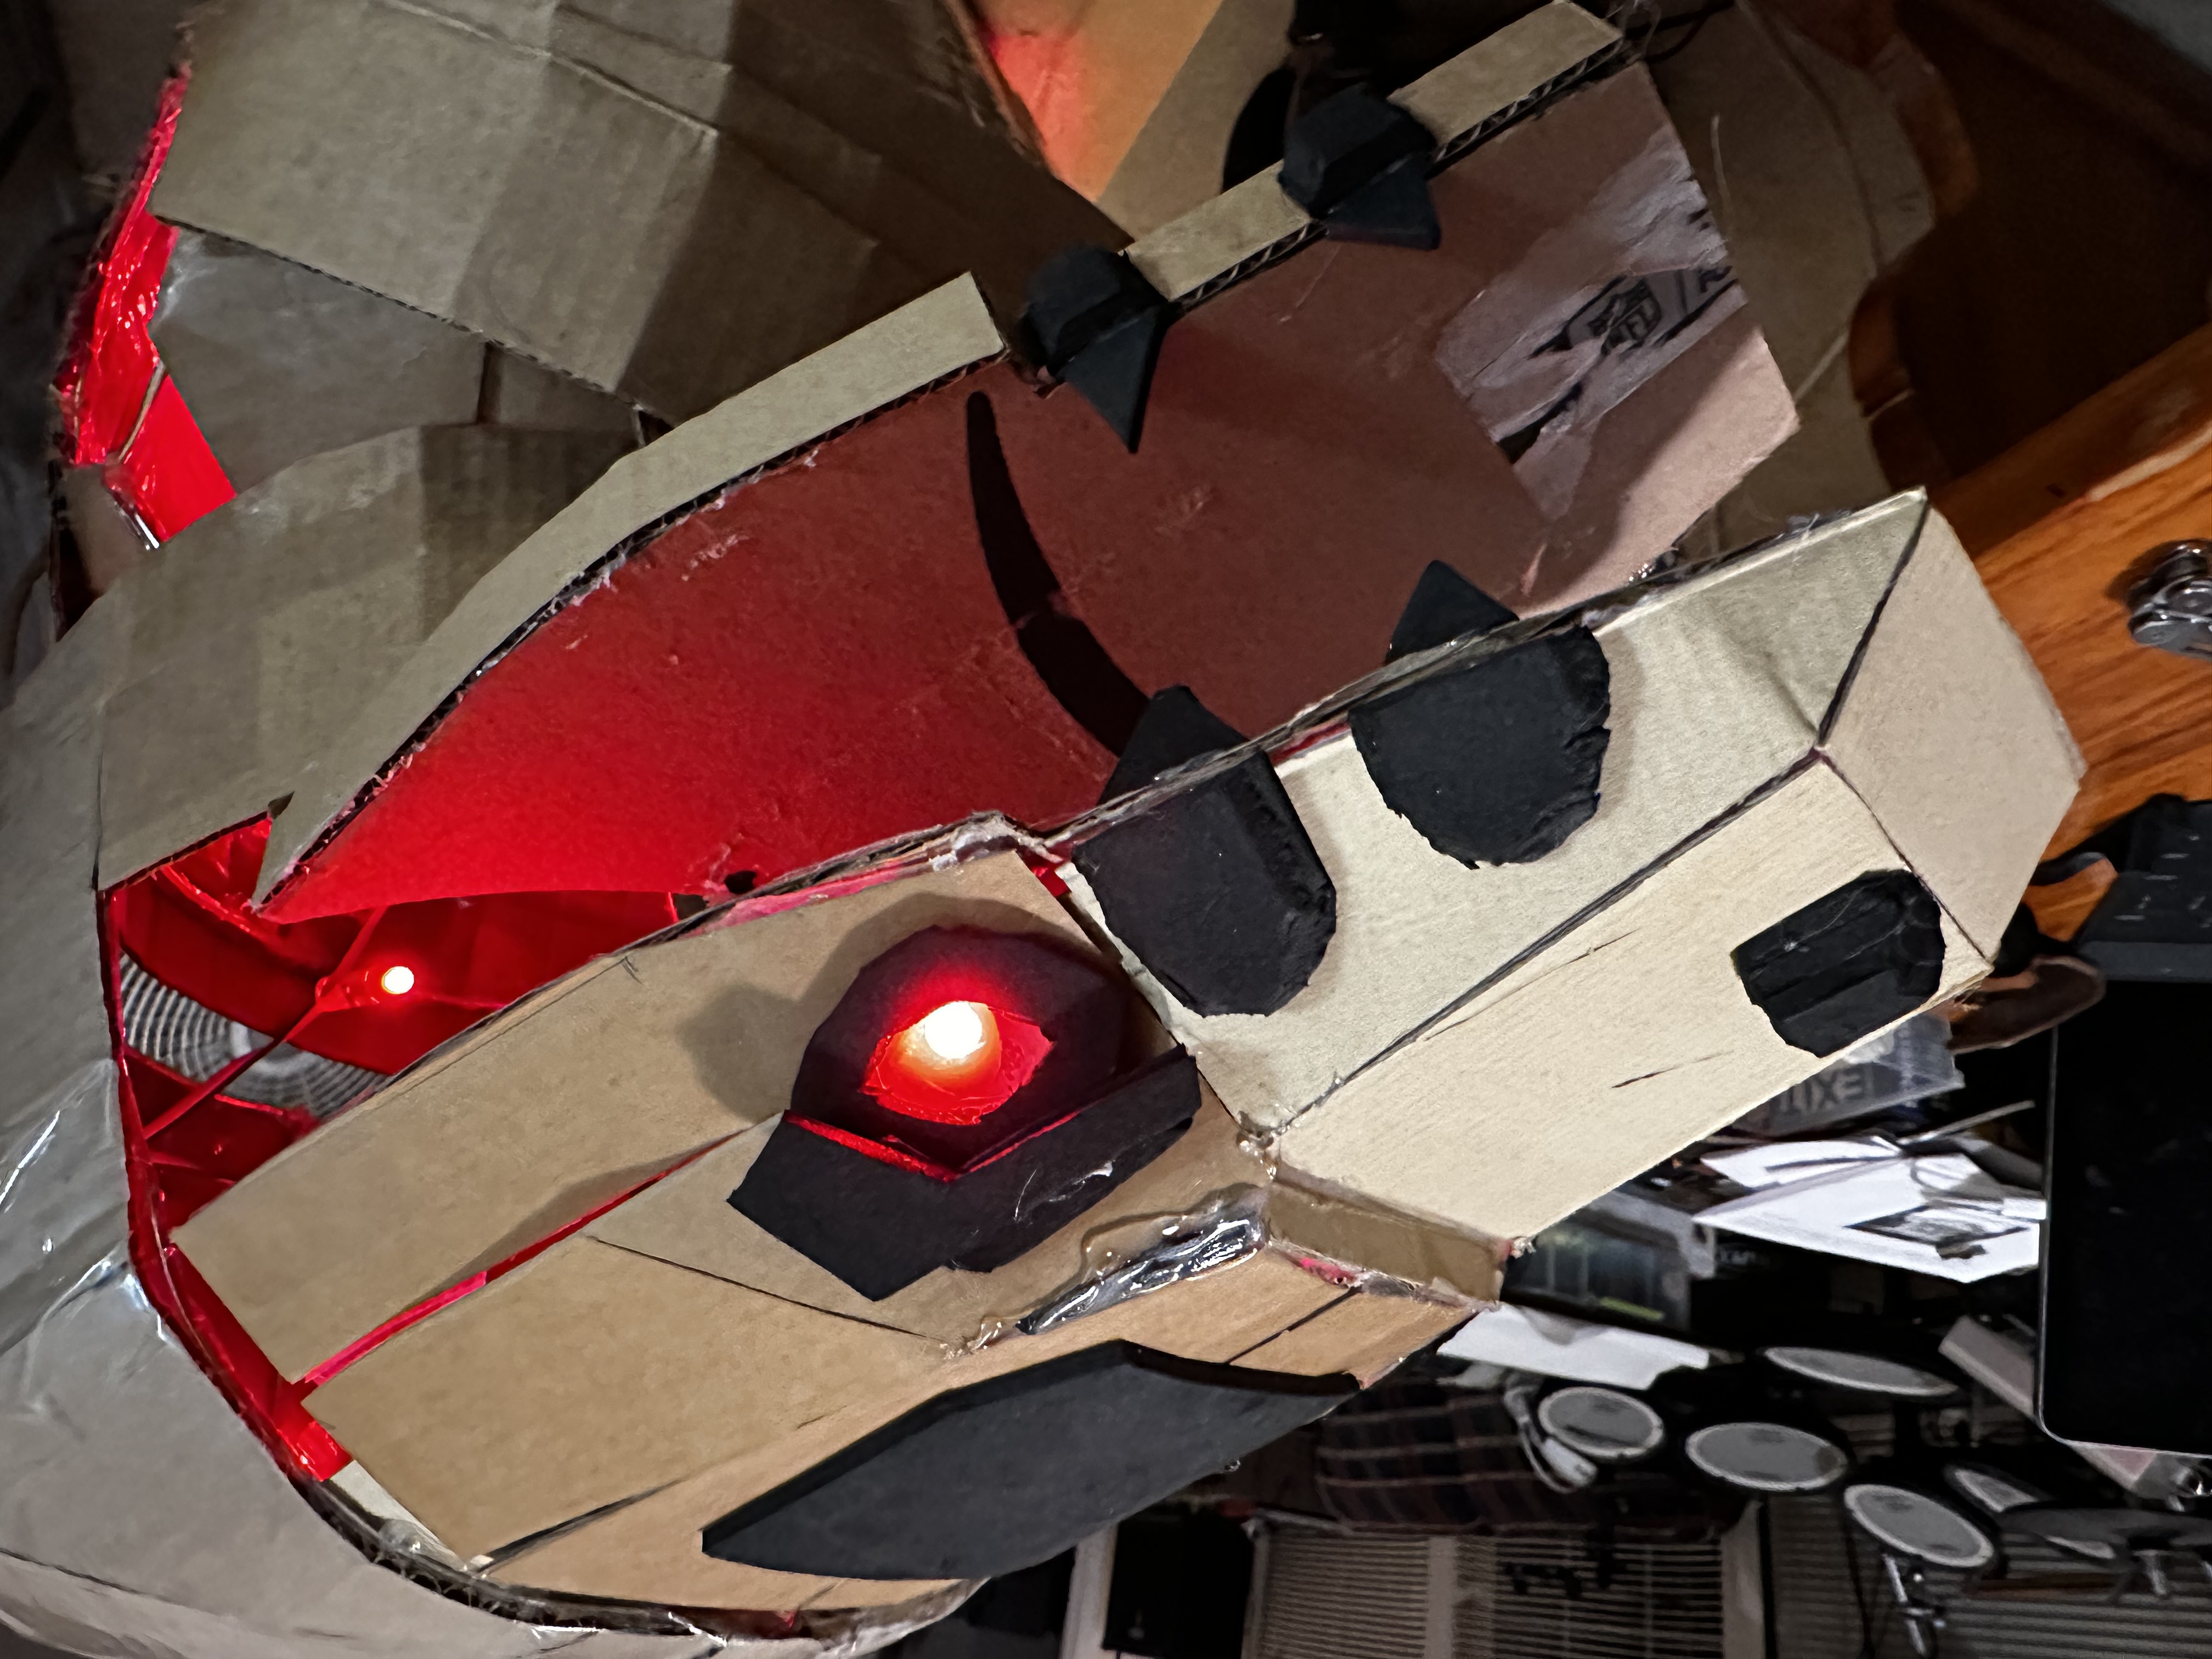
The light strand also ran up through the head to illuminate the eyes. The eyes were pieces of clear acrylic cut to shape. I left the protective plastic on which gave them a nice diffused look.
I whipped together a small controller board with some connectors and an Arduino ProMicro. A bit of code on the ProMicro animated the lights down the back. Everything was powered with a cheap USB battery pack. The whole setup could run for hours on a single charge.
Paint
Once everything was assembled, detailed, and tested for fit, I took them all outside and gave them a coat of black primer. This was followed by a coat of silver metallic paint. Fortunately, Mechagodzilla is very simple in the color department, so we didn't have to get too fussy with painting.
Seeing the whole costume with paint and lights really brought everything together for the first time. We knew at that point that we had made something cool and special.
Doctor, doctor
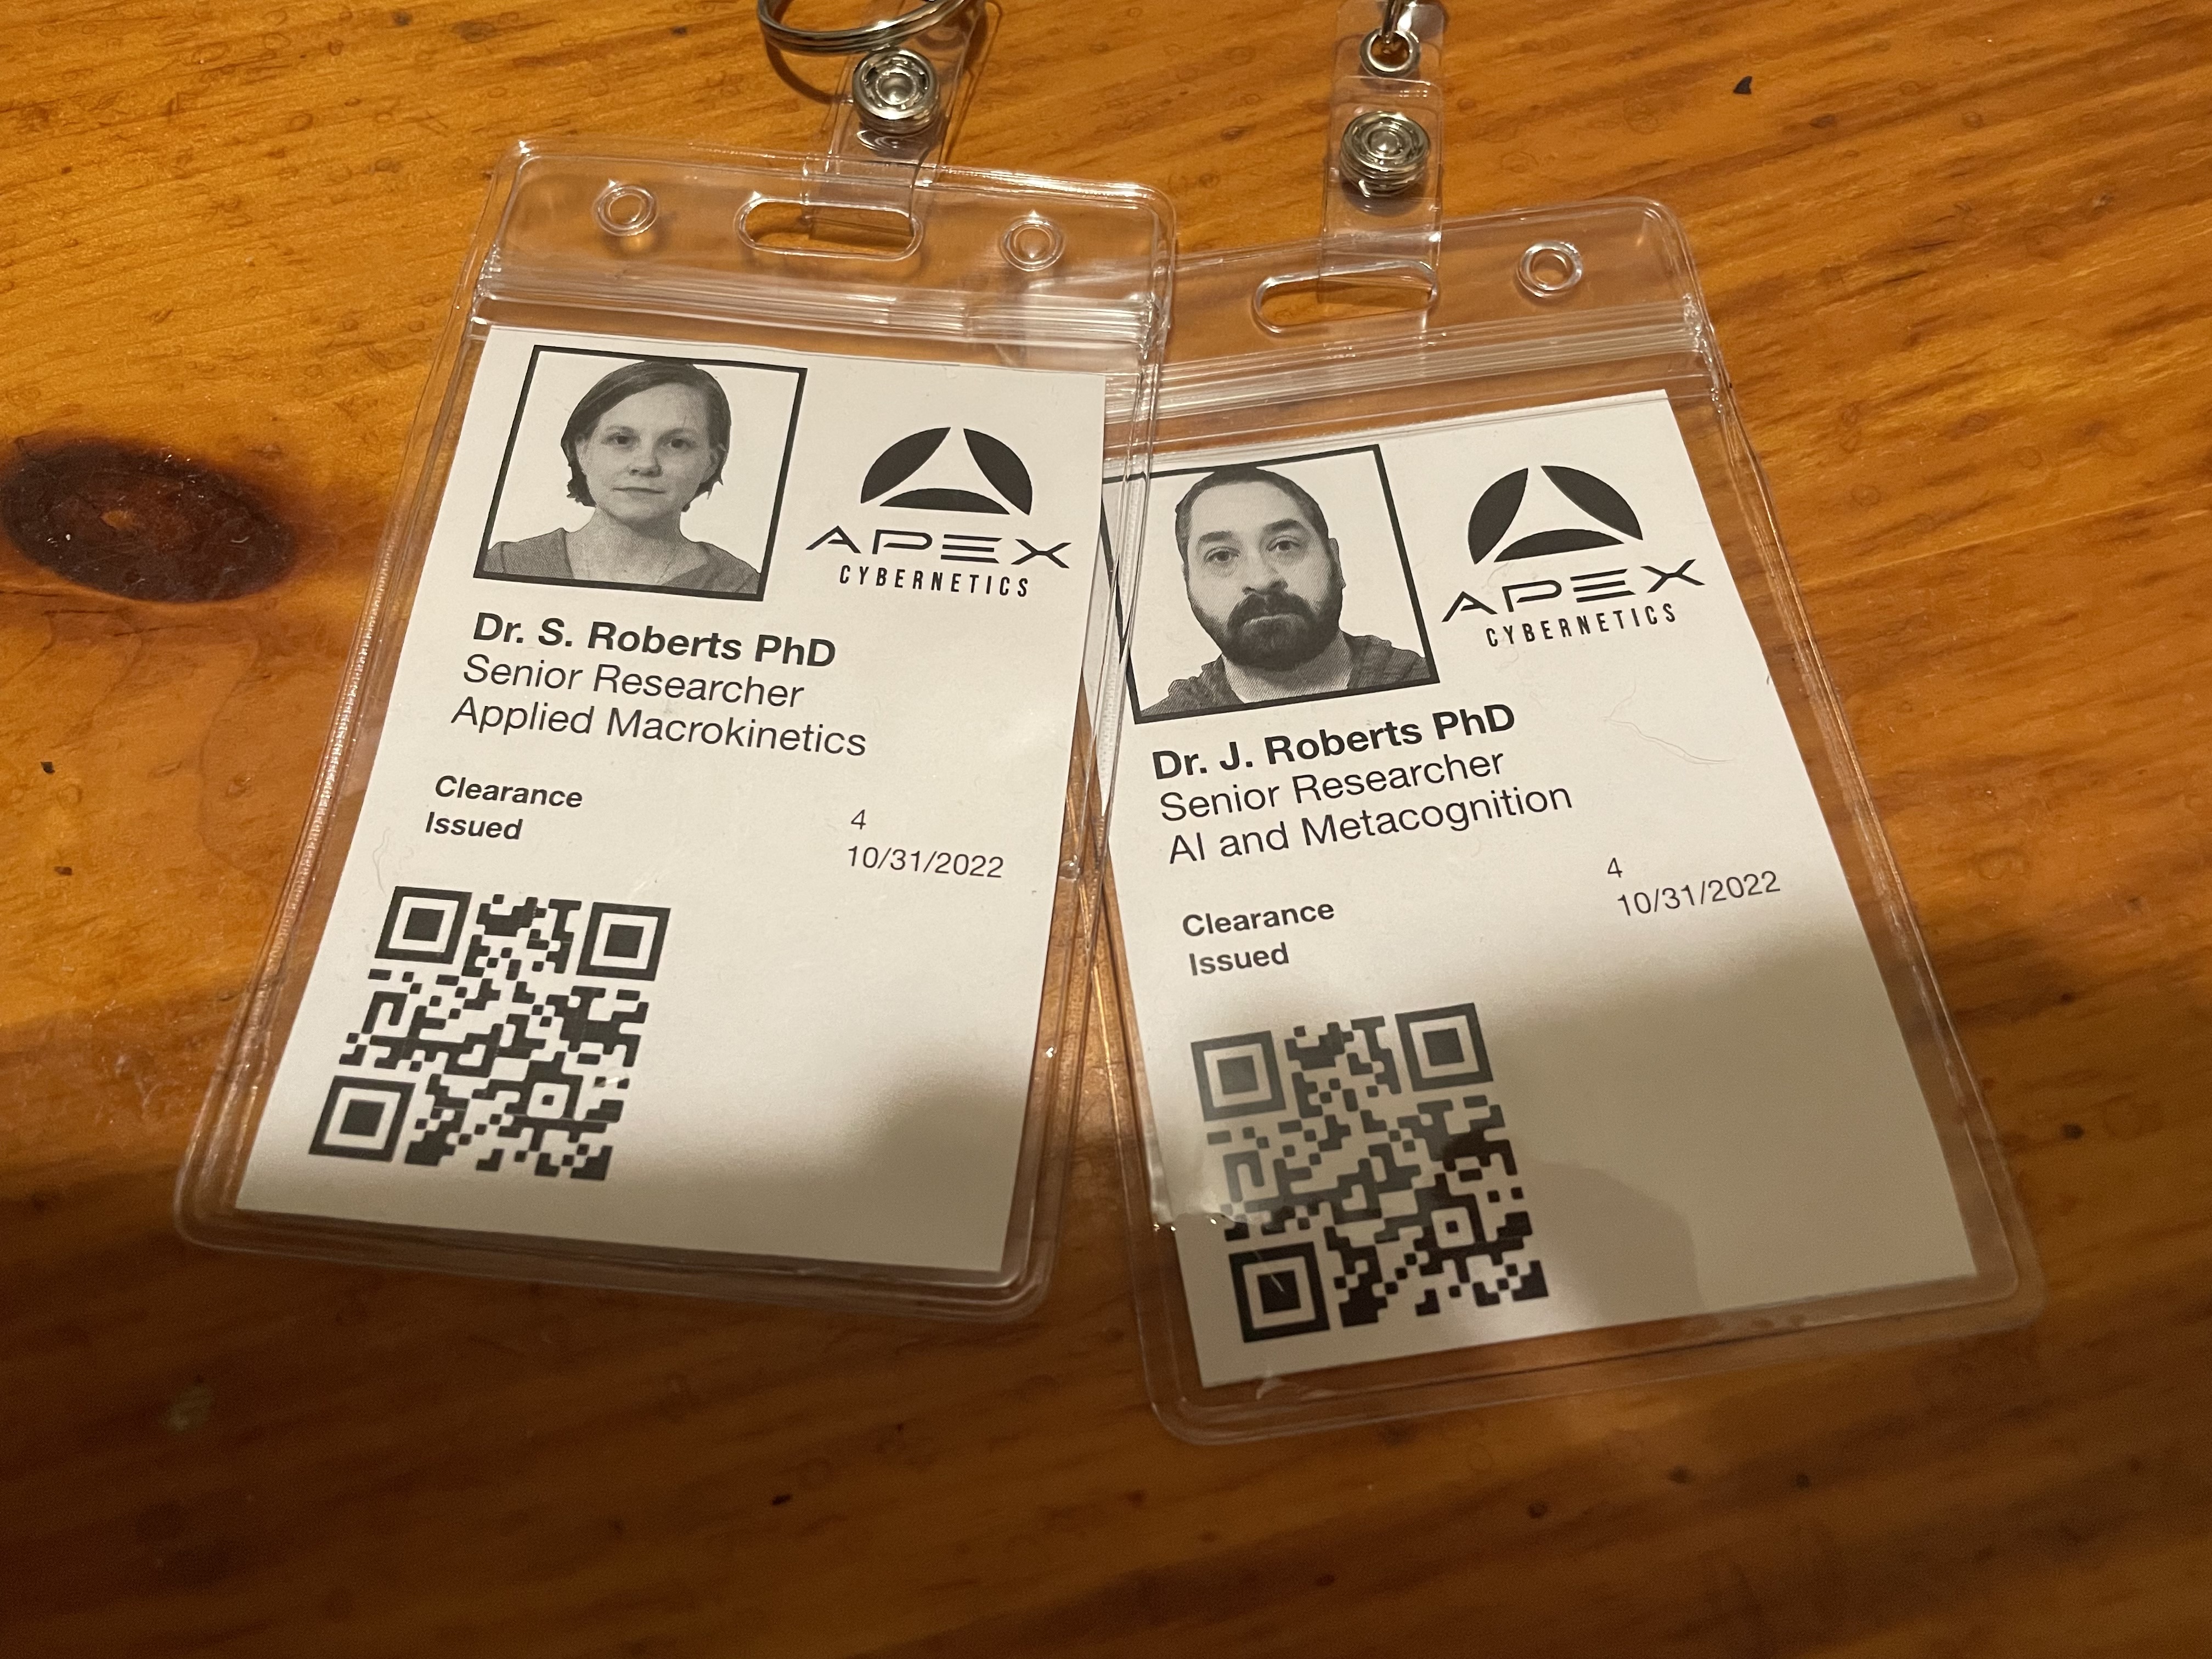
My wife and I did not have much time left over for our own costumes so we got some lab coats and printed up some fake badges and went as Apex researchers. This worked well as we needed to stay by Nick and help him navigate with limited visibility.
Results
All told we spent over 100 hours in just under three weeks building out the design. Someday we might learn to start in September...
The resulting costume was extremely successful. Nick had fun being Mechagodzilla, we had fun chasing him around with clipboards, and we were all kind of blown away by how many people wanted a picture with him.
