Moravian Star
Literal Garbage
In 2017 our family-heirloom star Christmas tree-topper broke. It was last minute and we tried to find a worthy replacement but none of the store-bought toppers were the right fit for our tree.
As a temporary measure I threw a bunch of LEDs in a blue gin bottle and strapped them to the top of the tree. "It's only temporary" I said, many times.
In 2020, after having literal garbage strapped to the top of our tree for three years, I finally got to work on a replacement tree topper that would last for years to come.
Moravian Shell
I started by printing the parts for this moravian star in flat white filament.


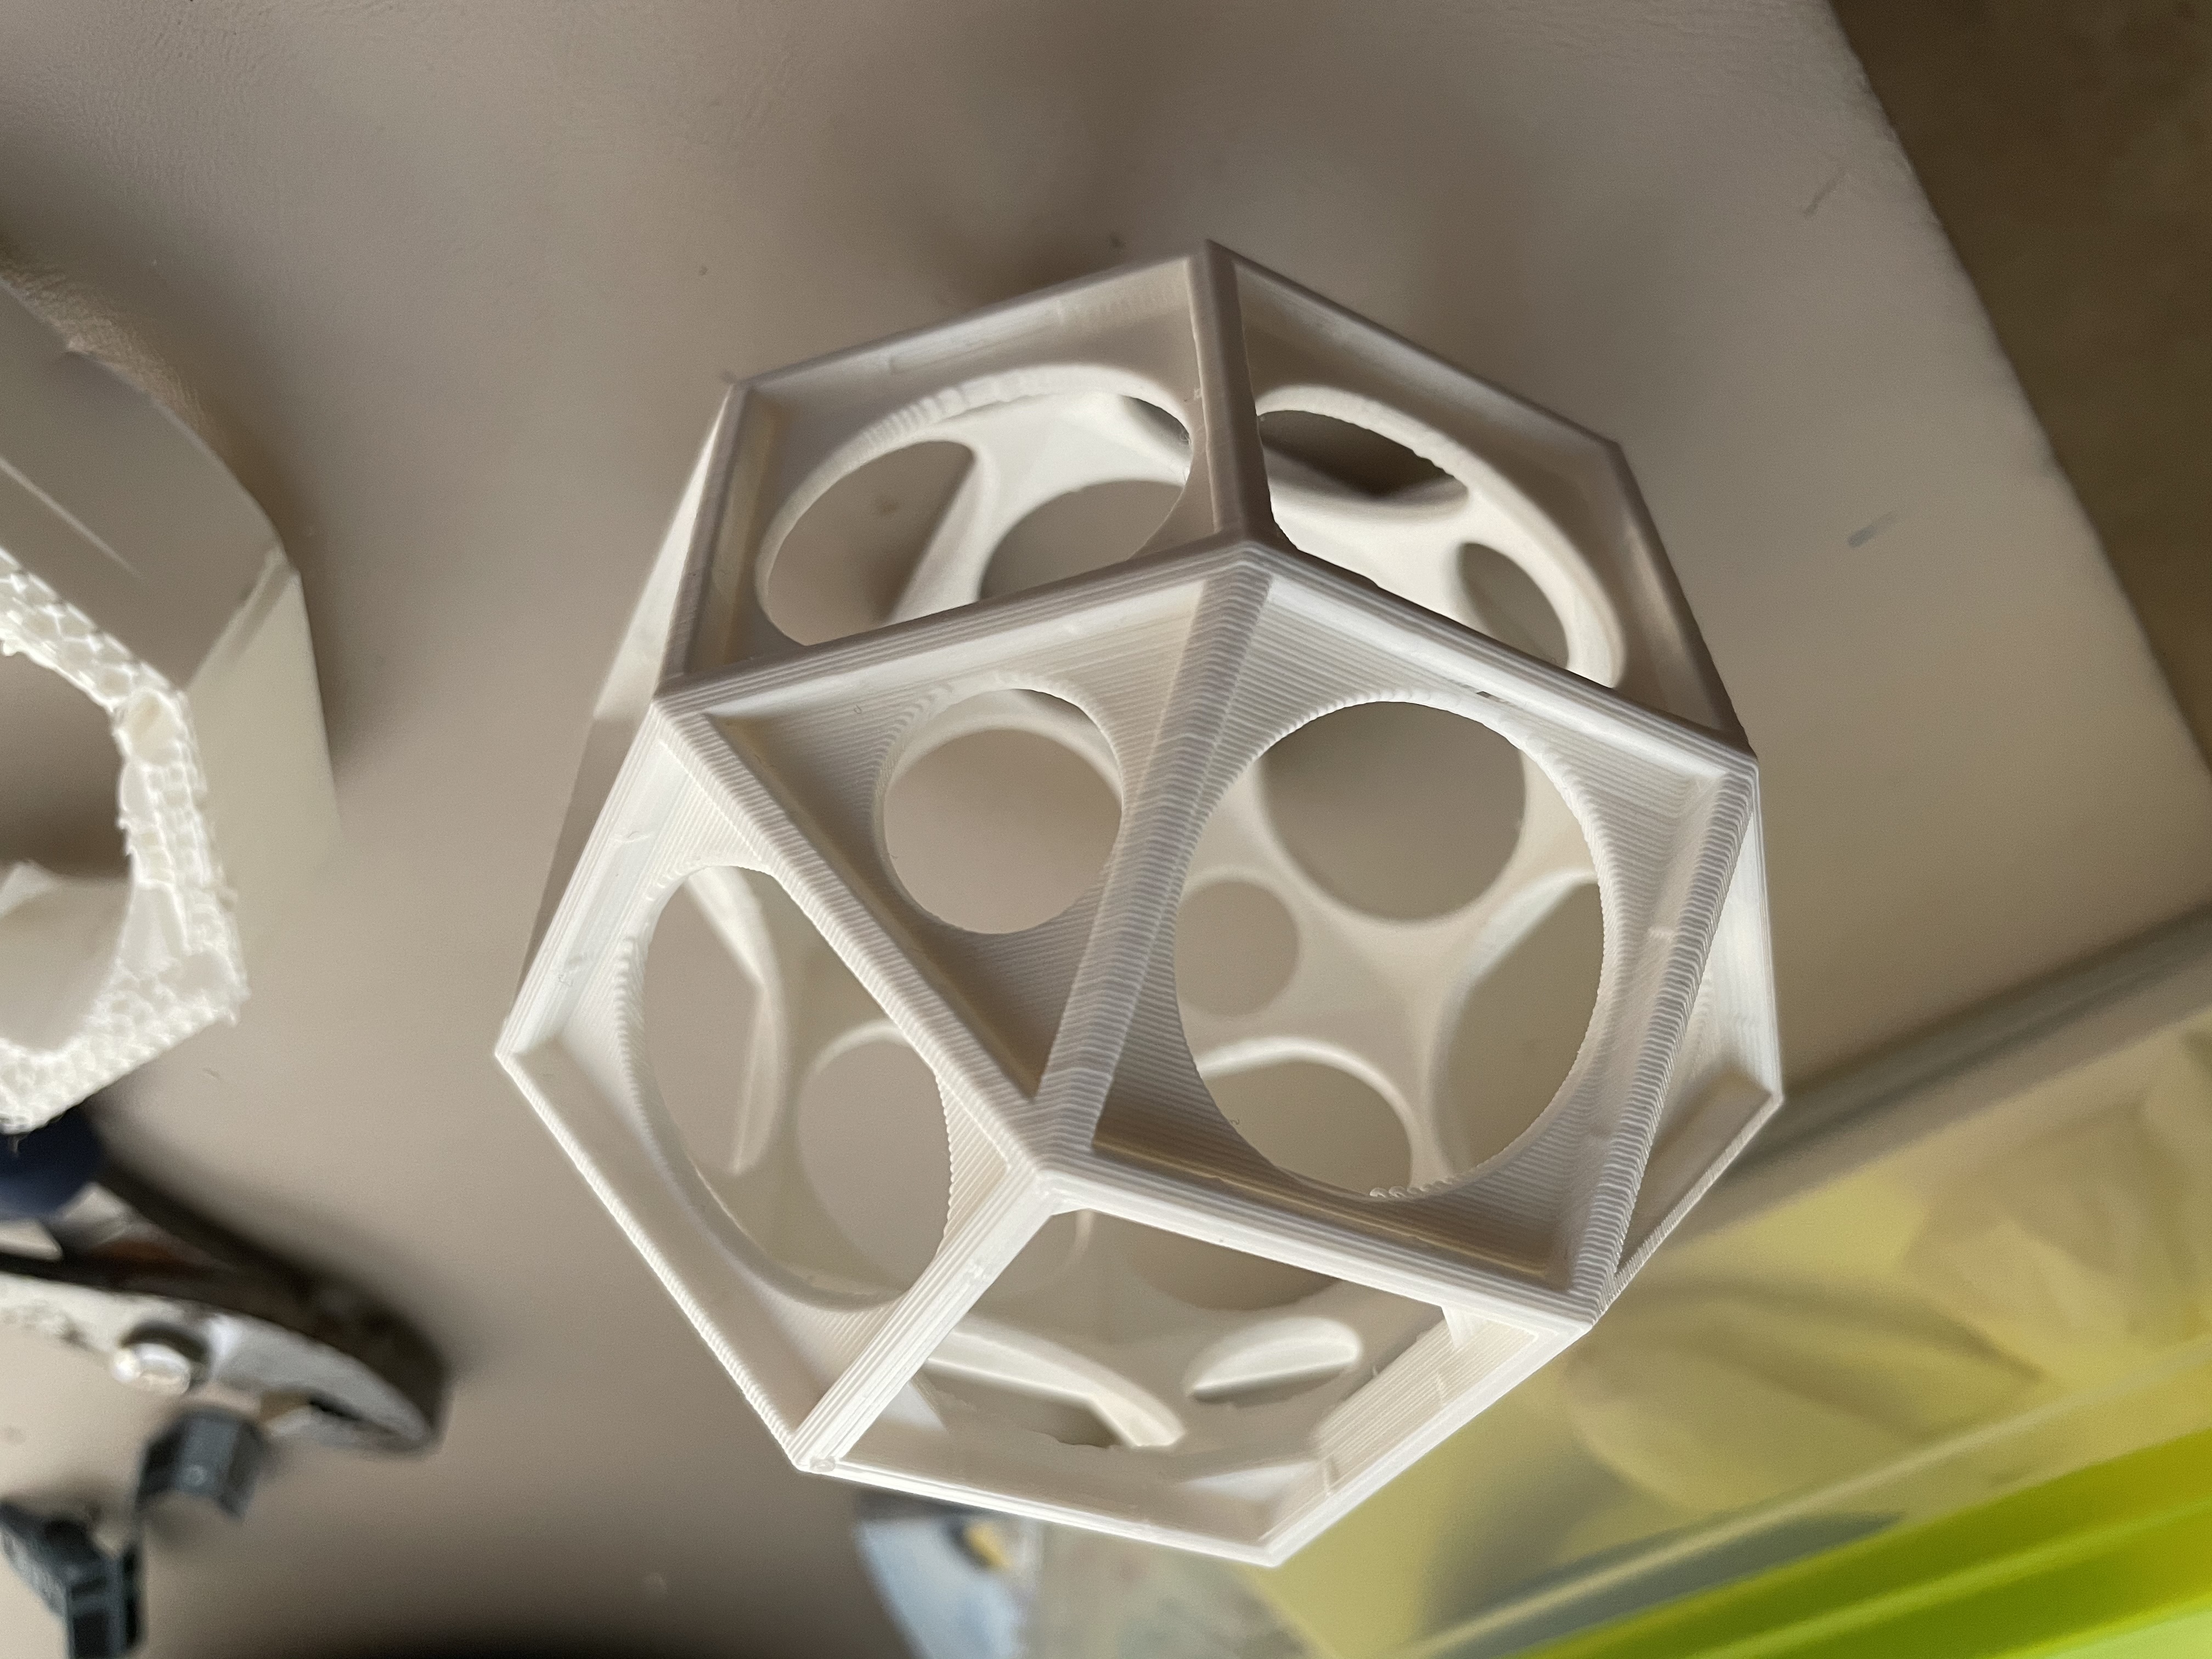

I didn't assemble the shell yet since next I needed to prepare the lighting.
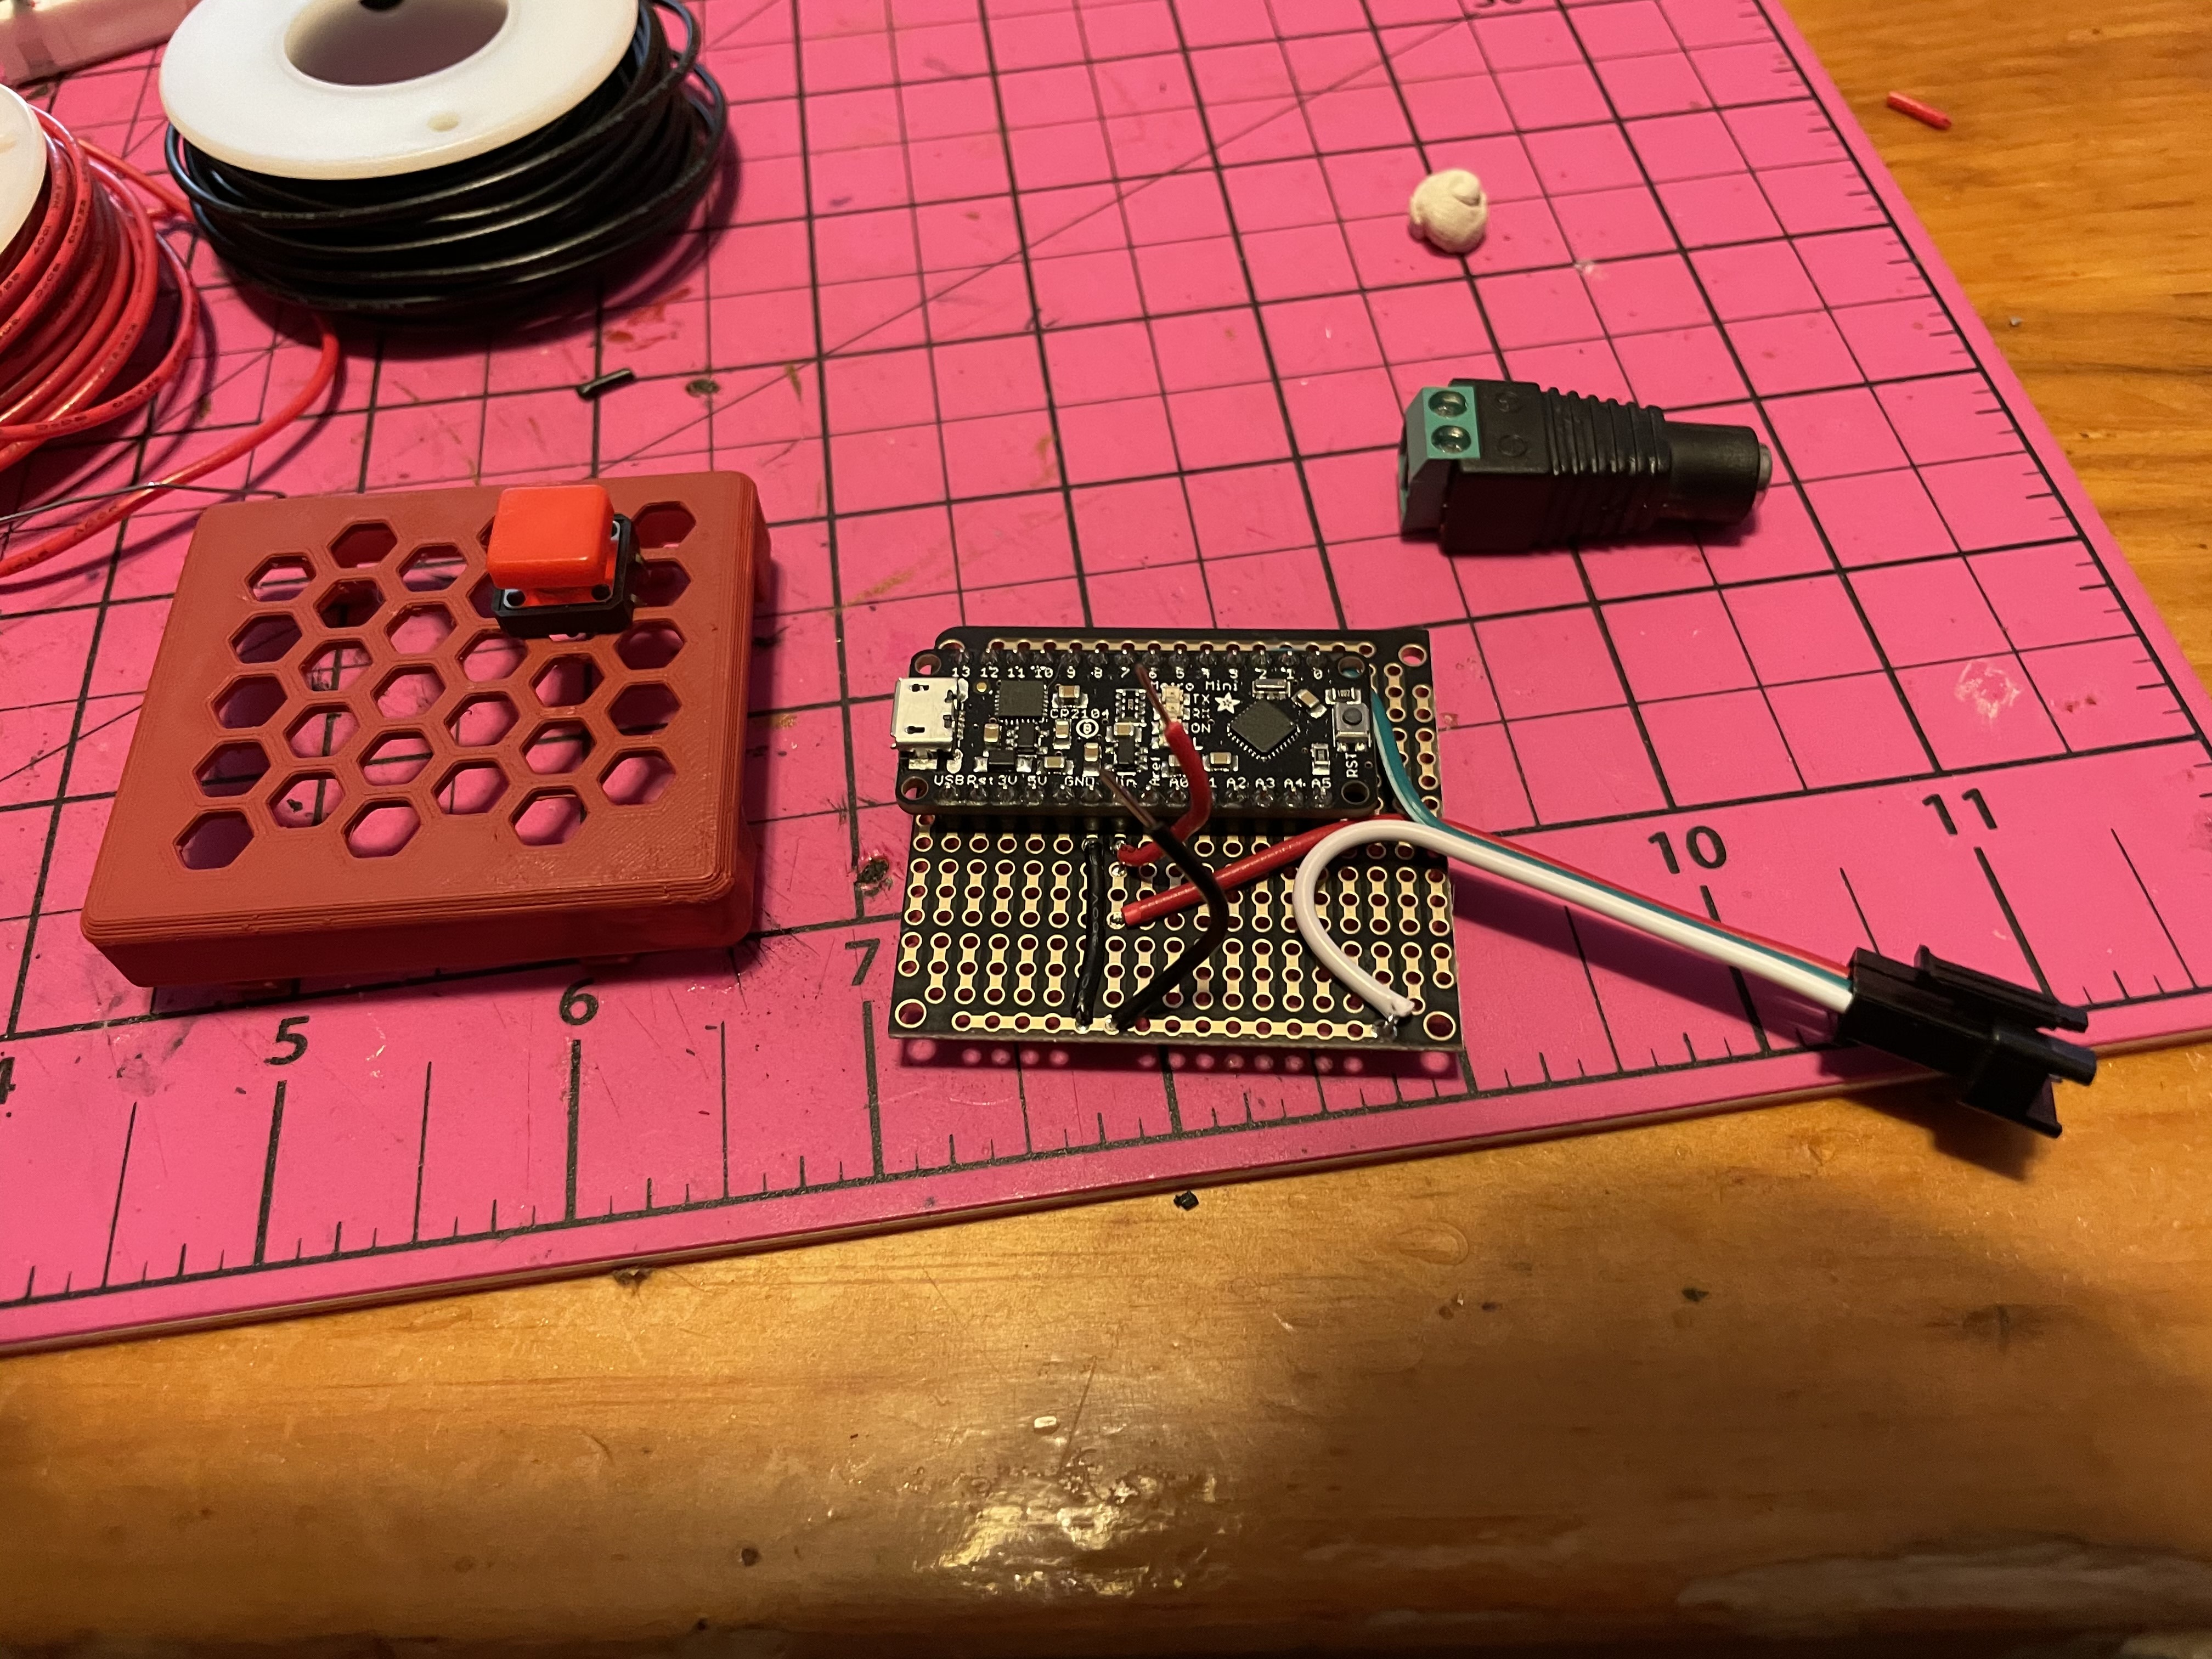
Lighting
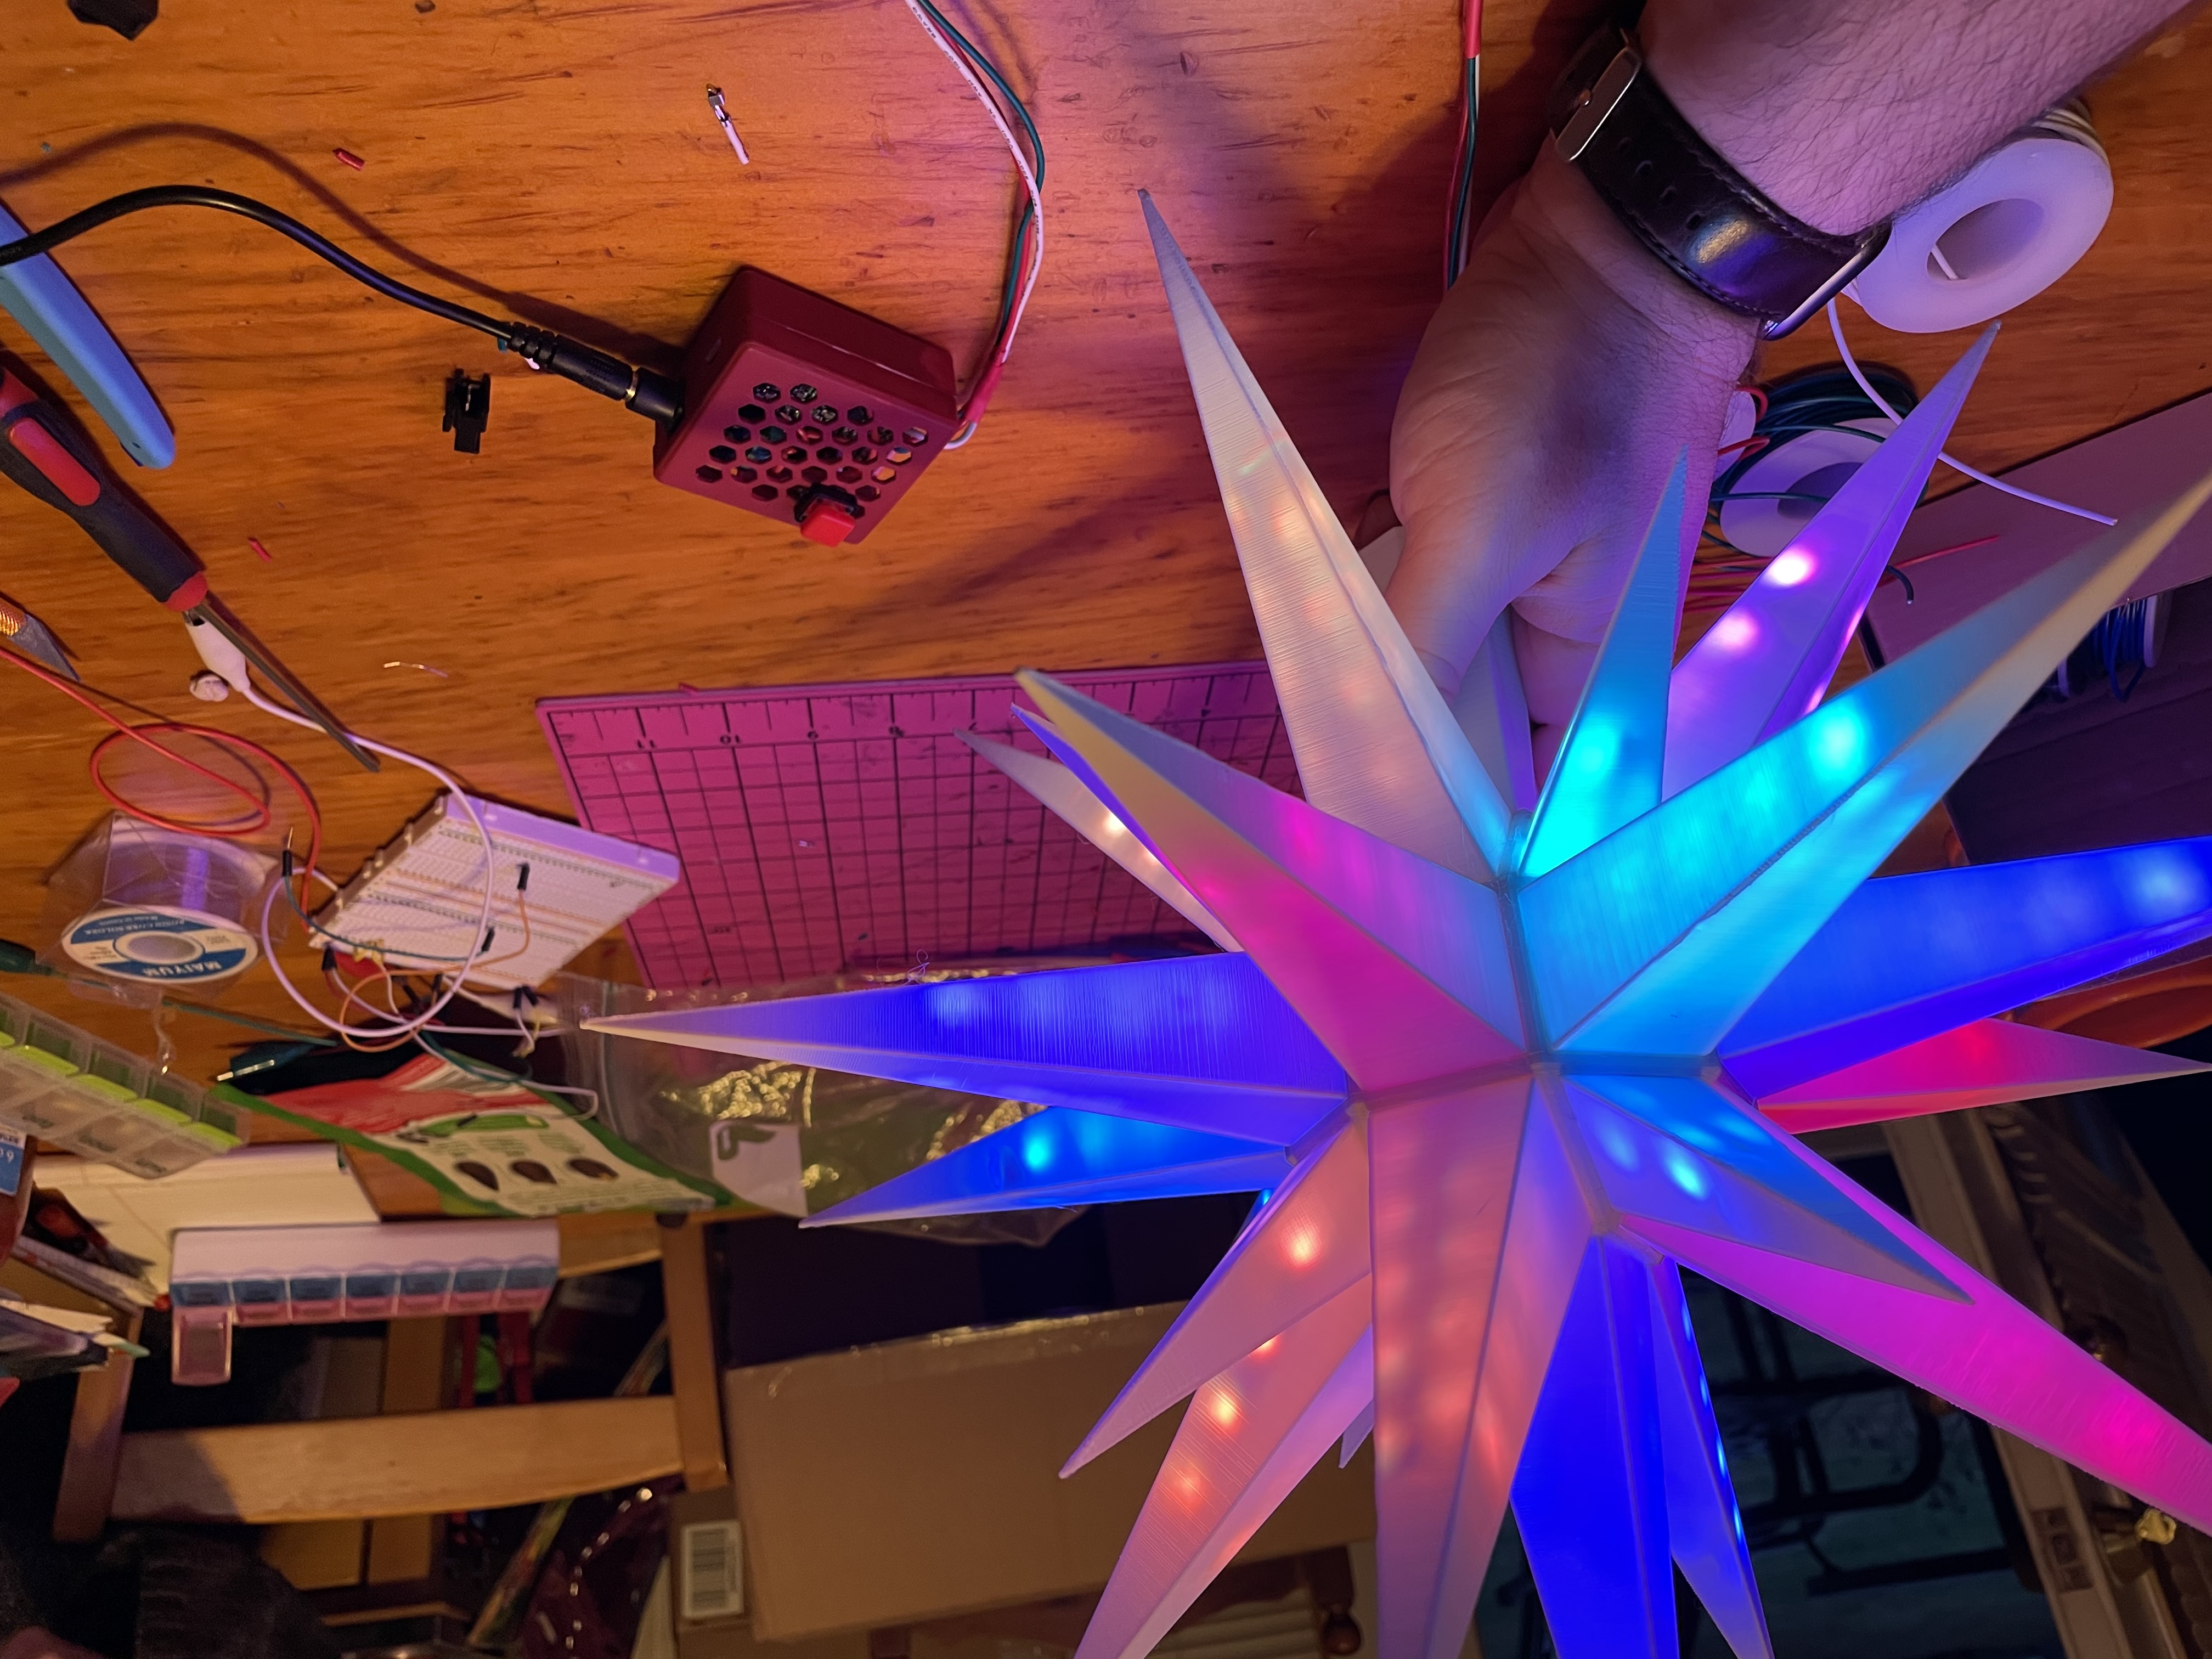
I started with a long strip of sealed neopixel-compatible lights and an Arduino-compatible Pro Micro board. I wired up the board and put it in a copy of the case I made for the Lego Hogwarts LED display (painted a festive red).


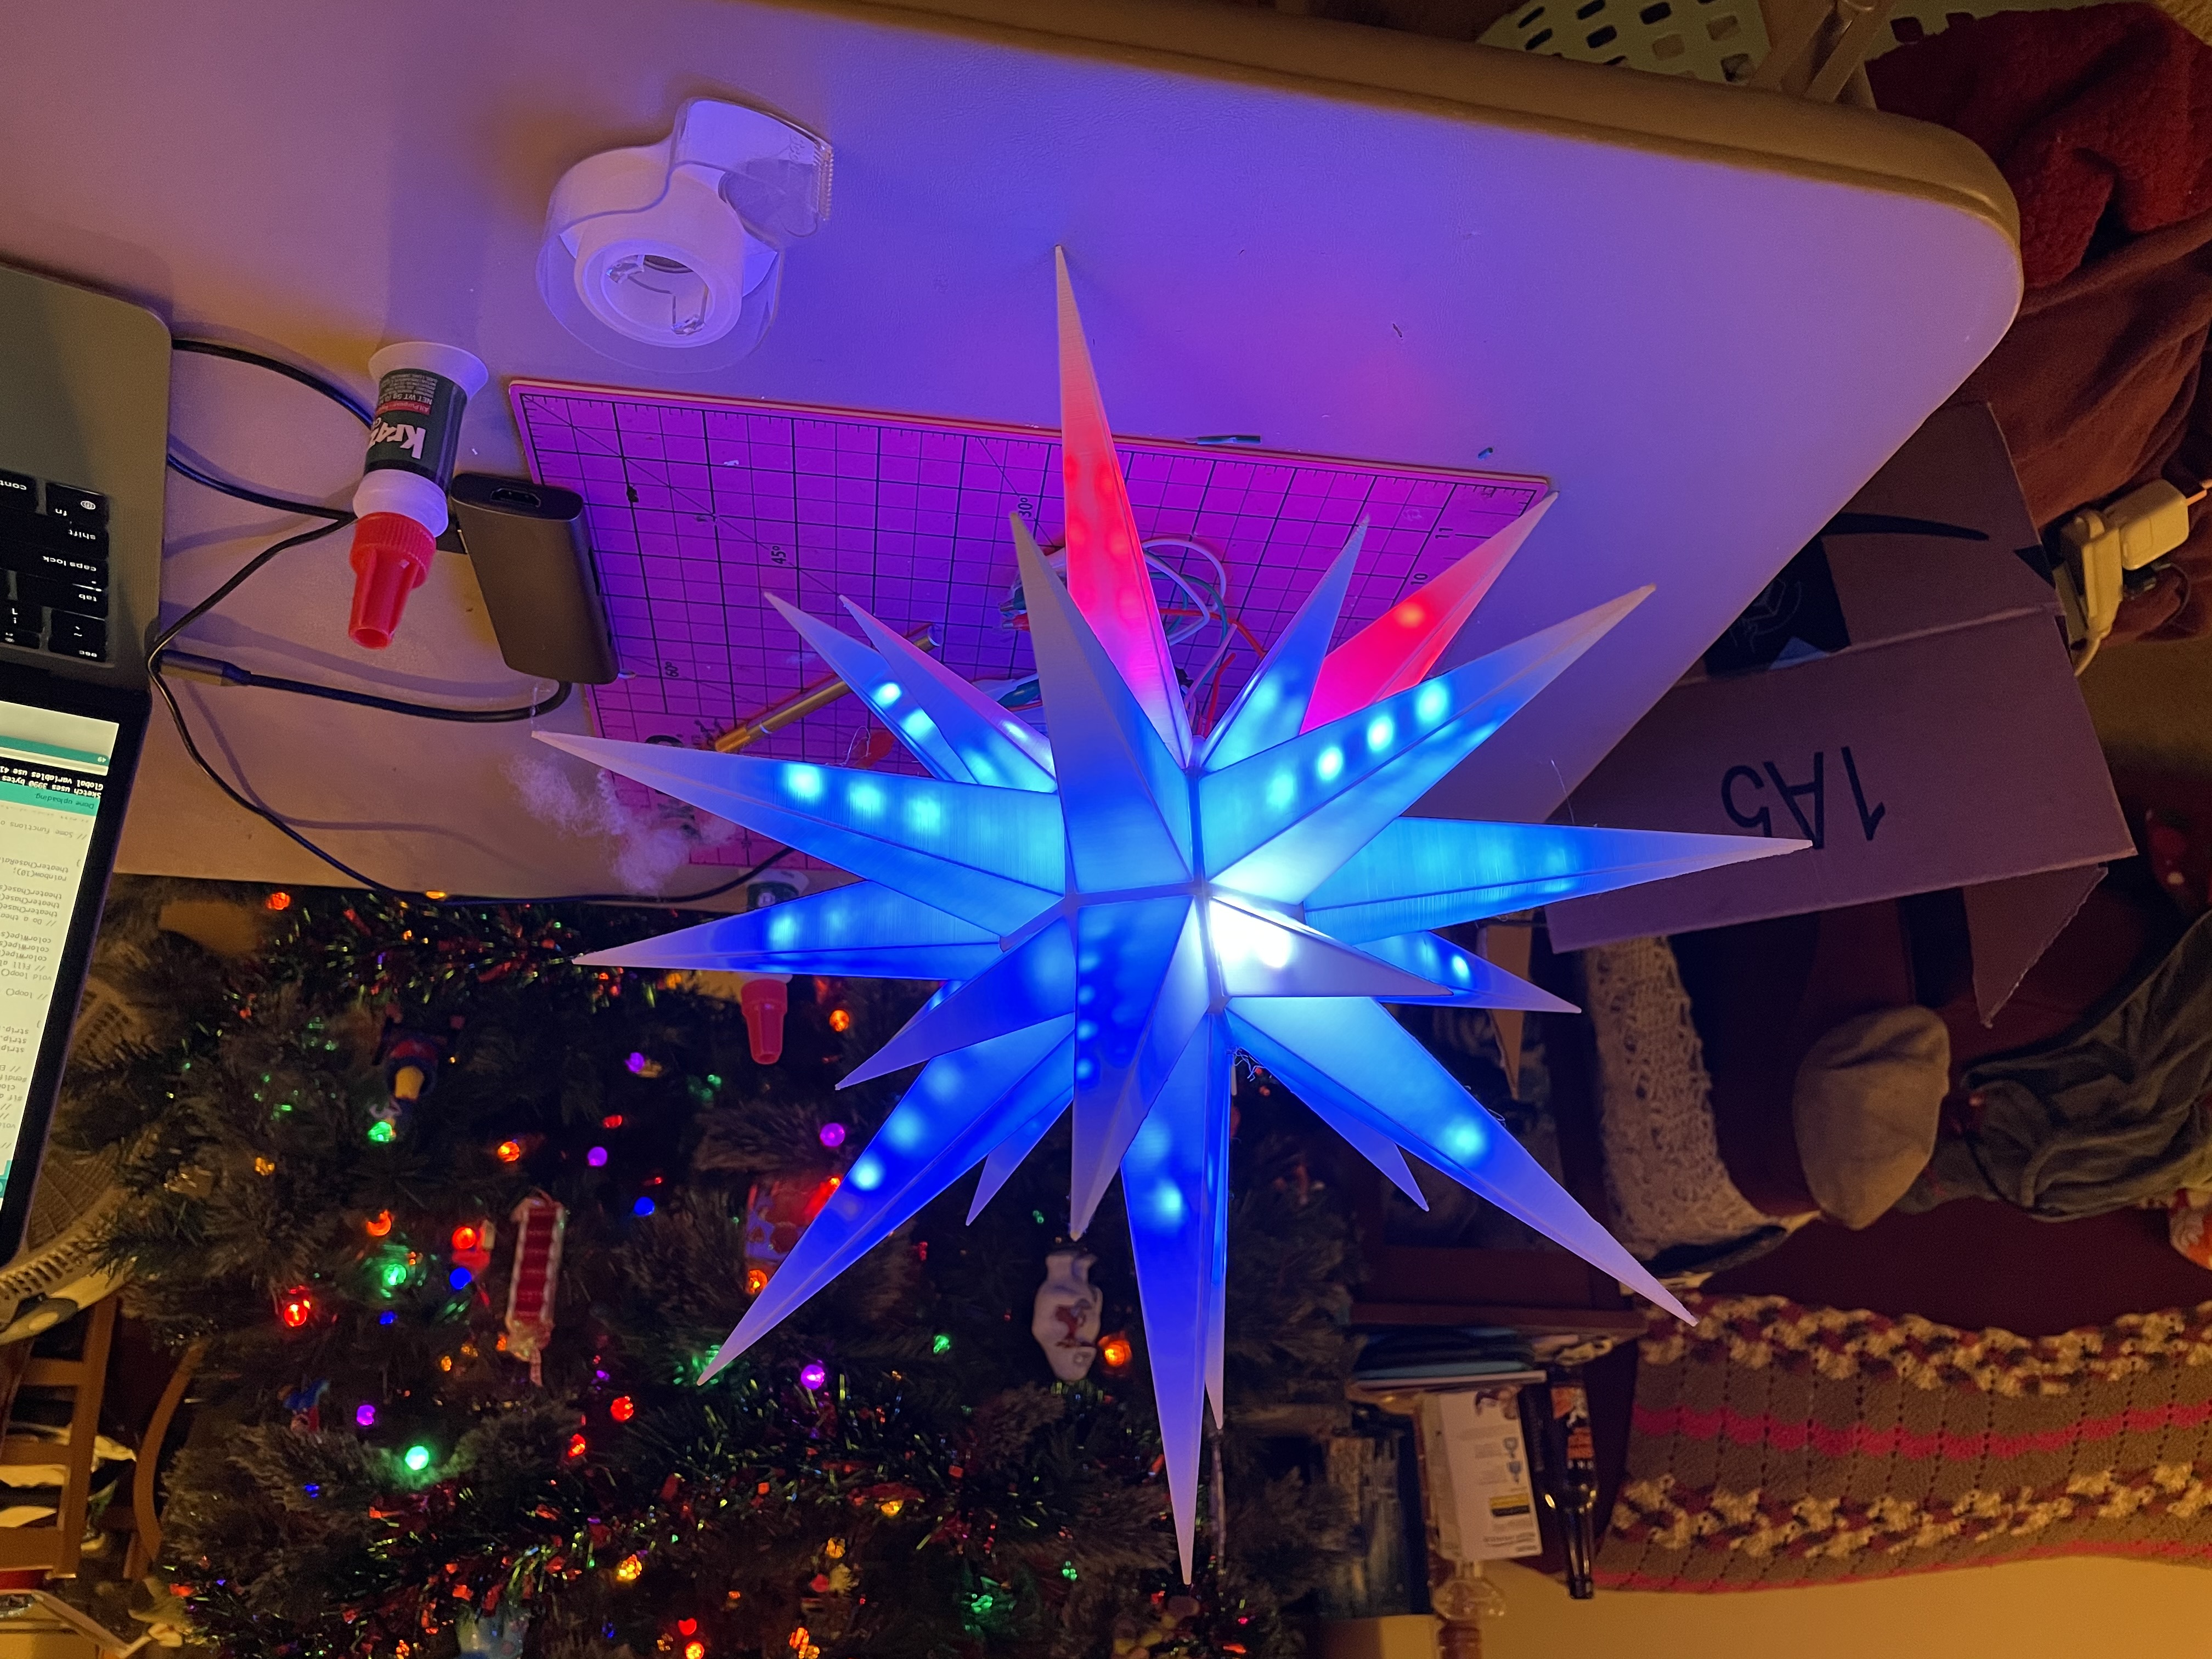
I spent a long evening stuffing the LED-strip into the star. There were several concerns when doing this. First, I tested a variety of materials to see what would diffuse the LED light the best. The best material I found was a bit of cotton batting wrapped around the LED strip in the wider portion of each star's point.
Next, I needed to carefully document the addresses of each individual light on the LED strip based on its position within the star. I collected these into several subsets: star core, large points, and small points. Later, I would be able to use these address collections to create a variety of lighting effects.


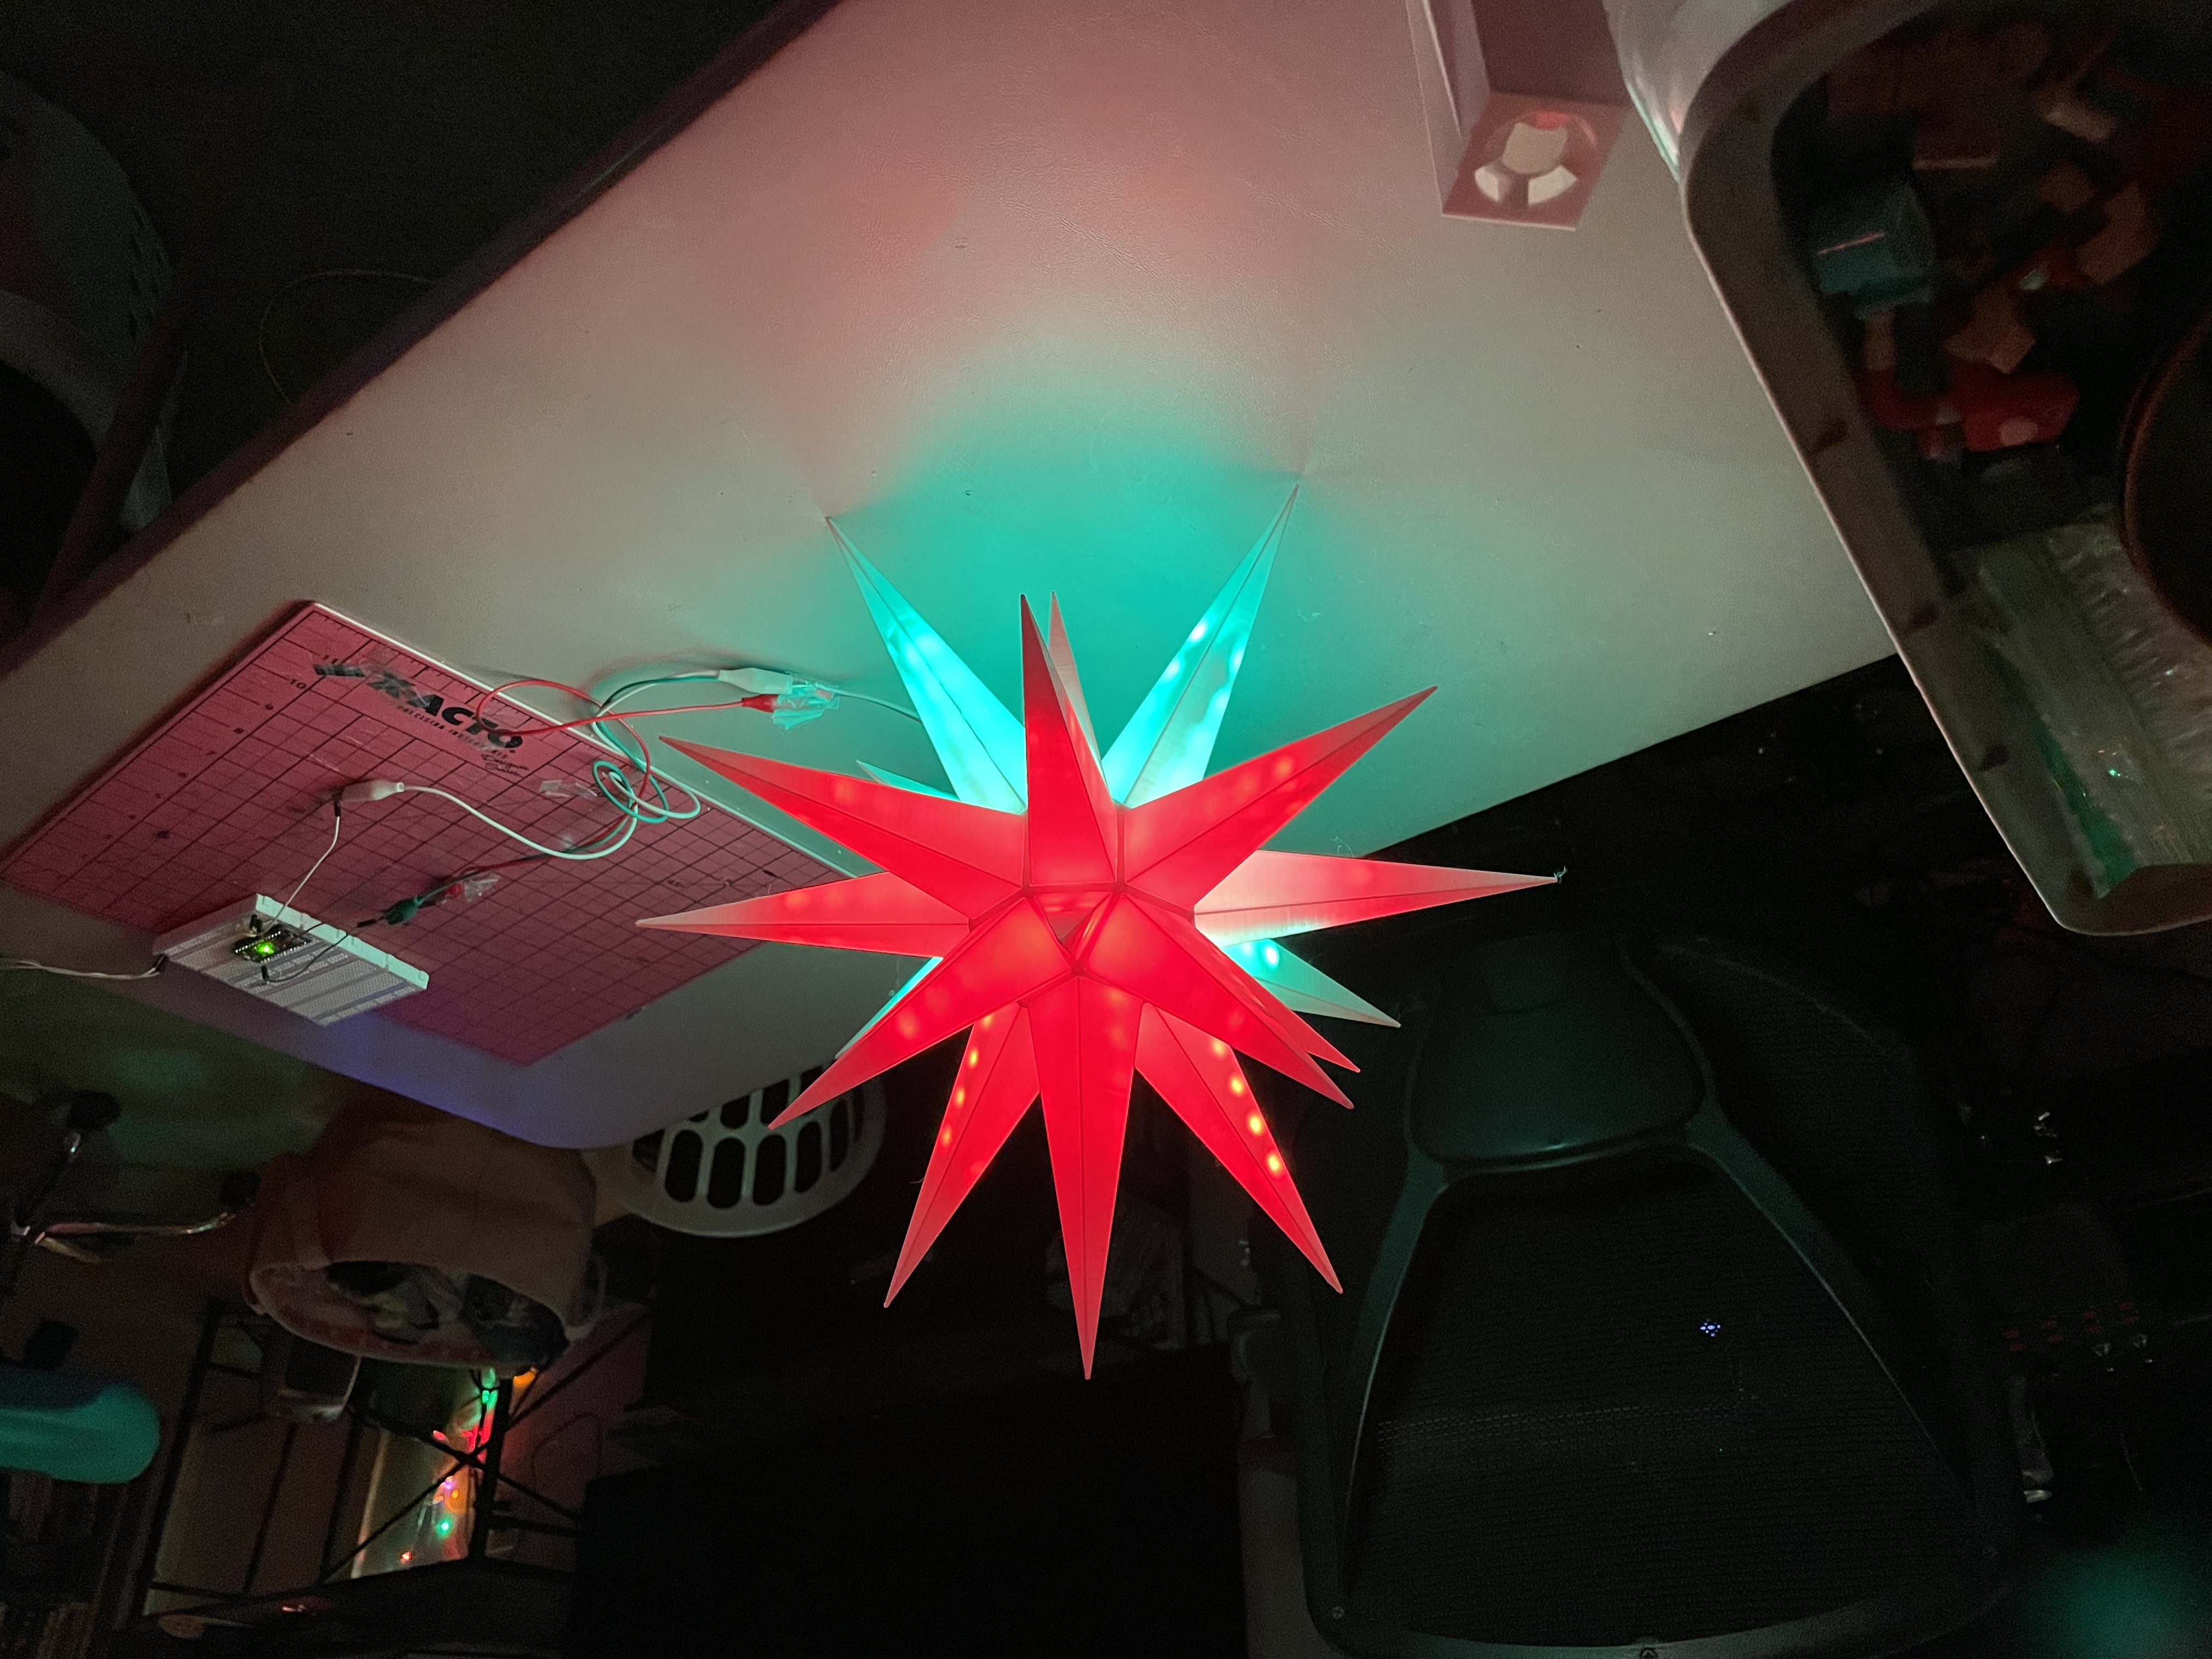
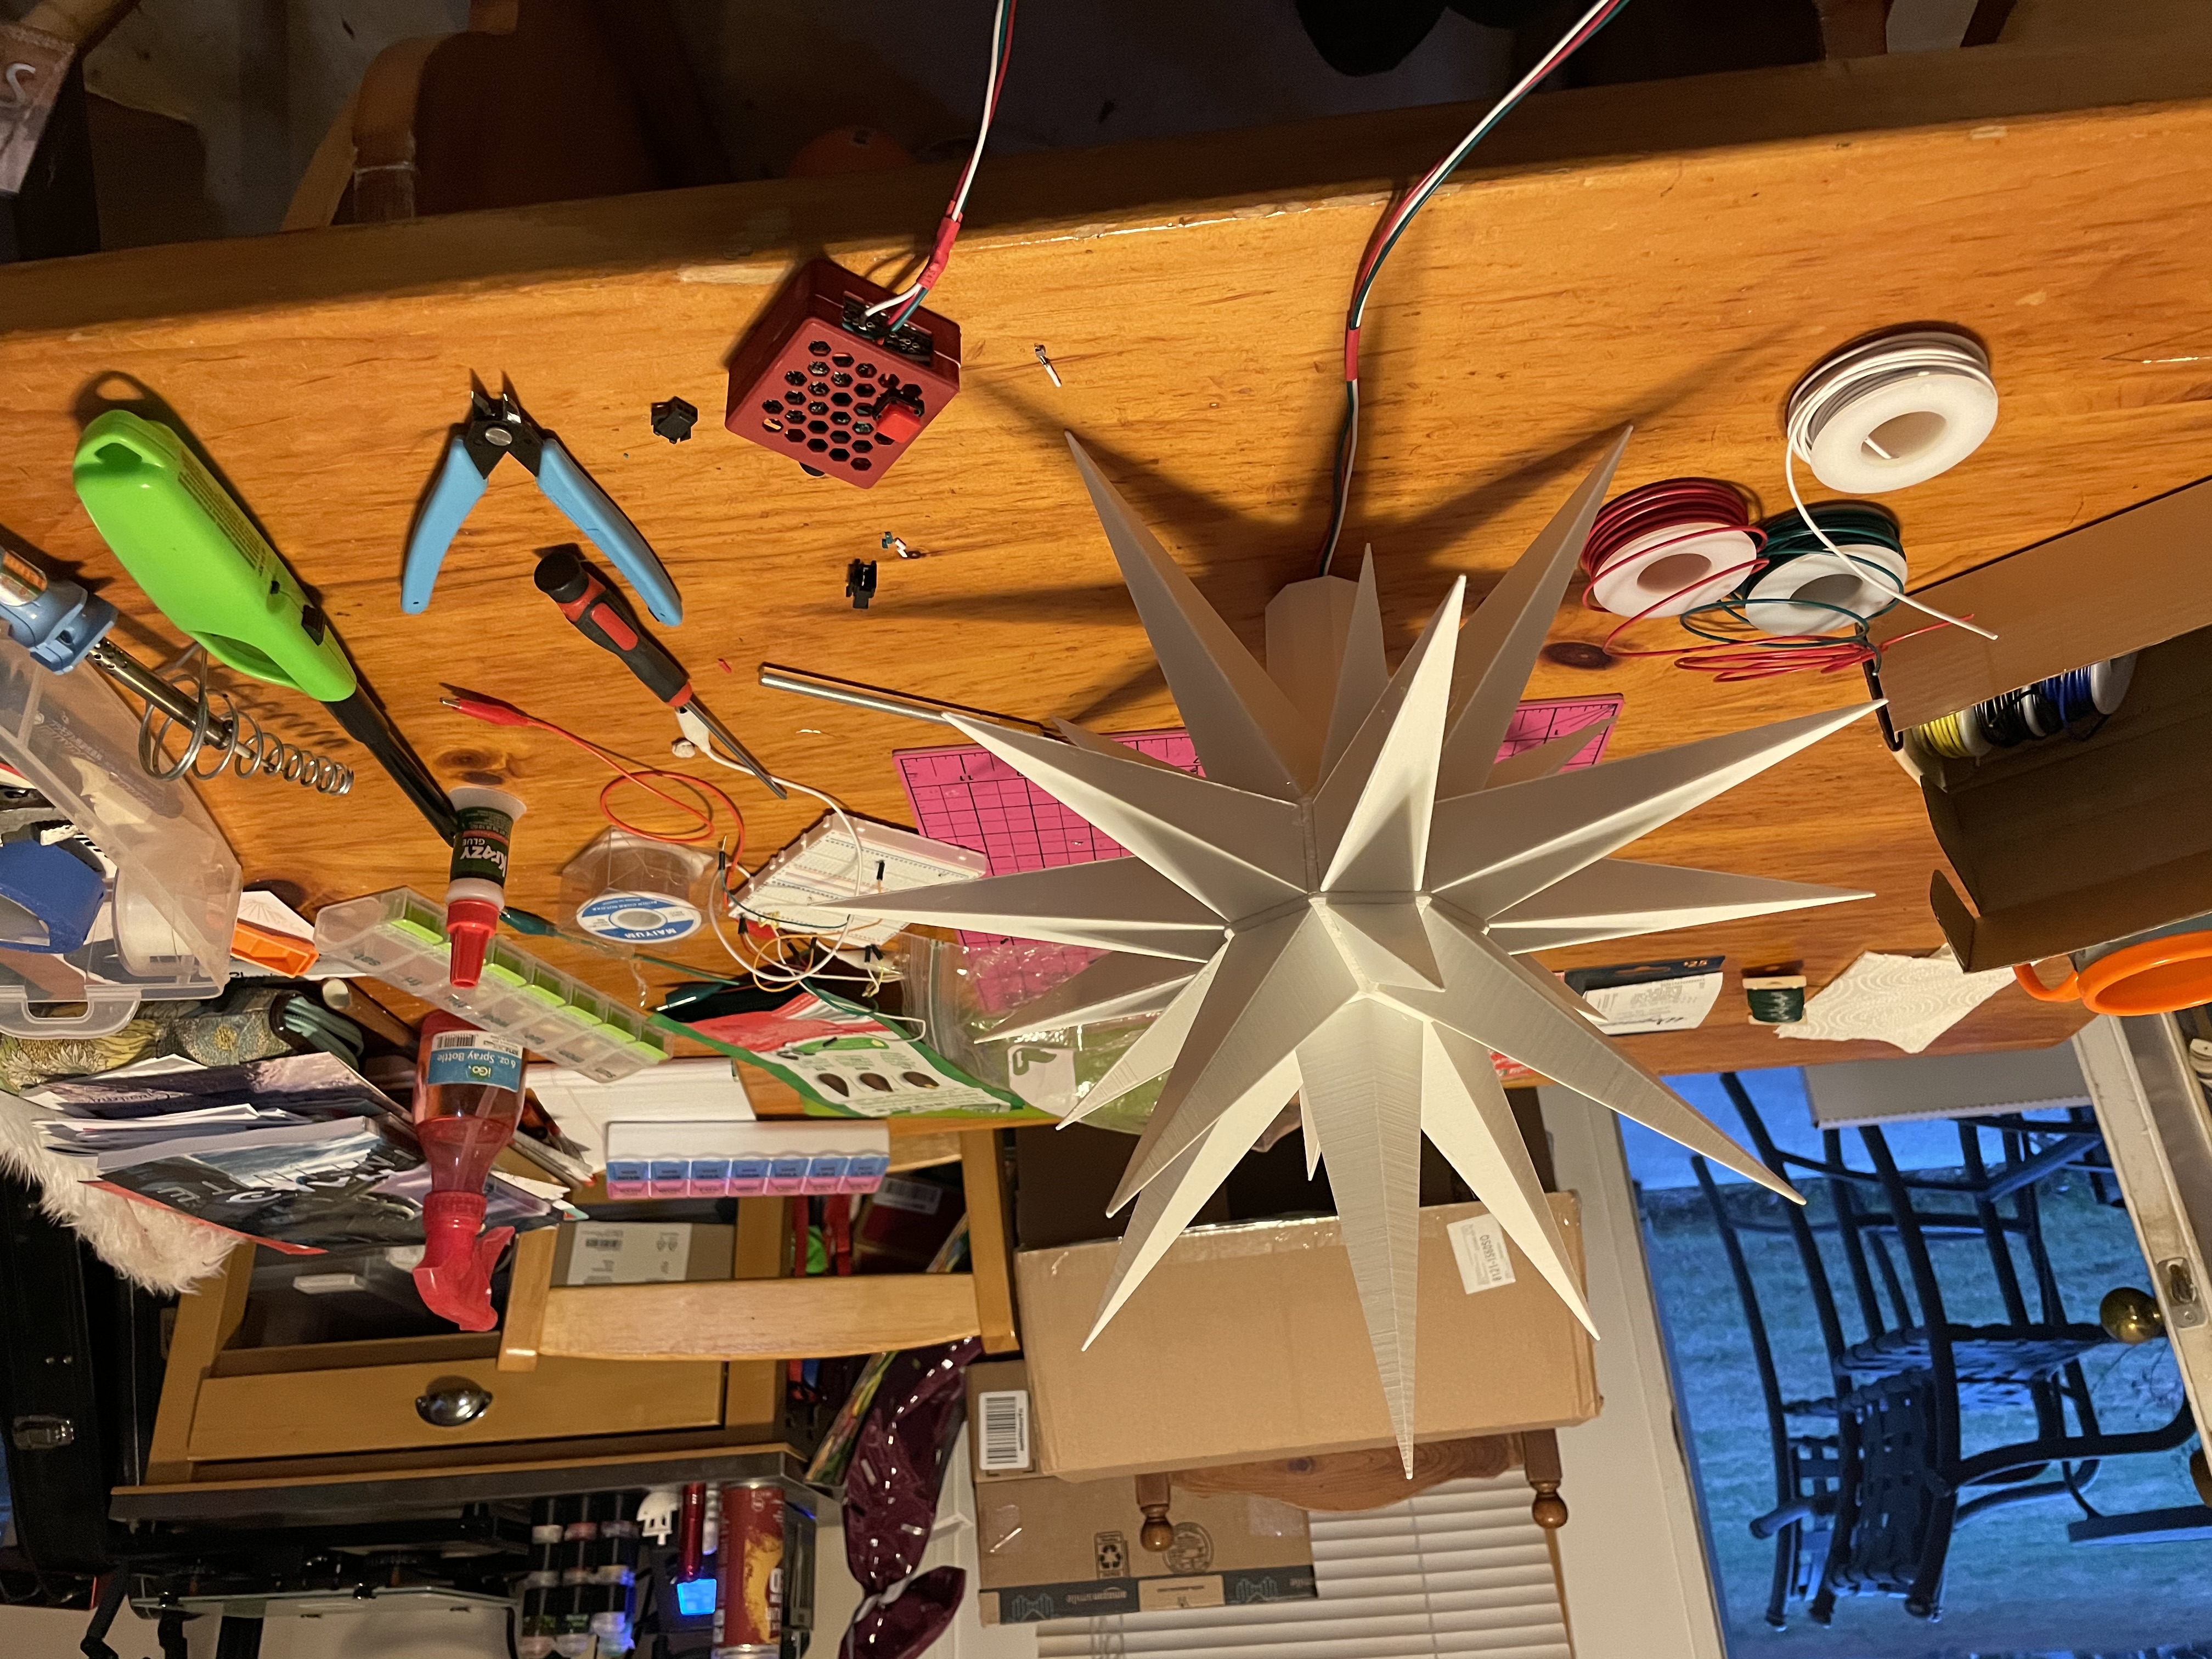
Finally, I had to actually glue the points to the core and ensure everything held together. The final assembled structure is large and striking even when unlit.
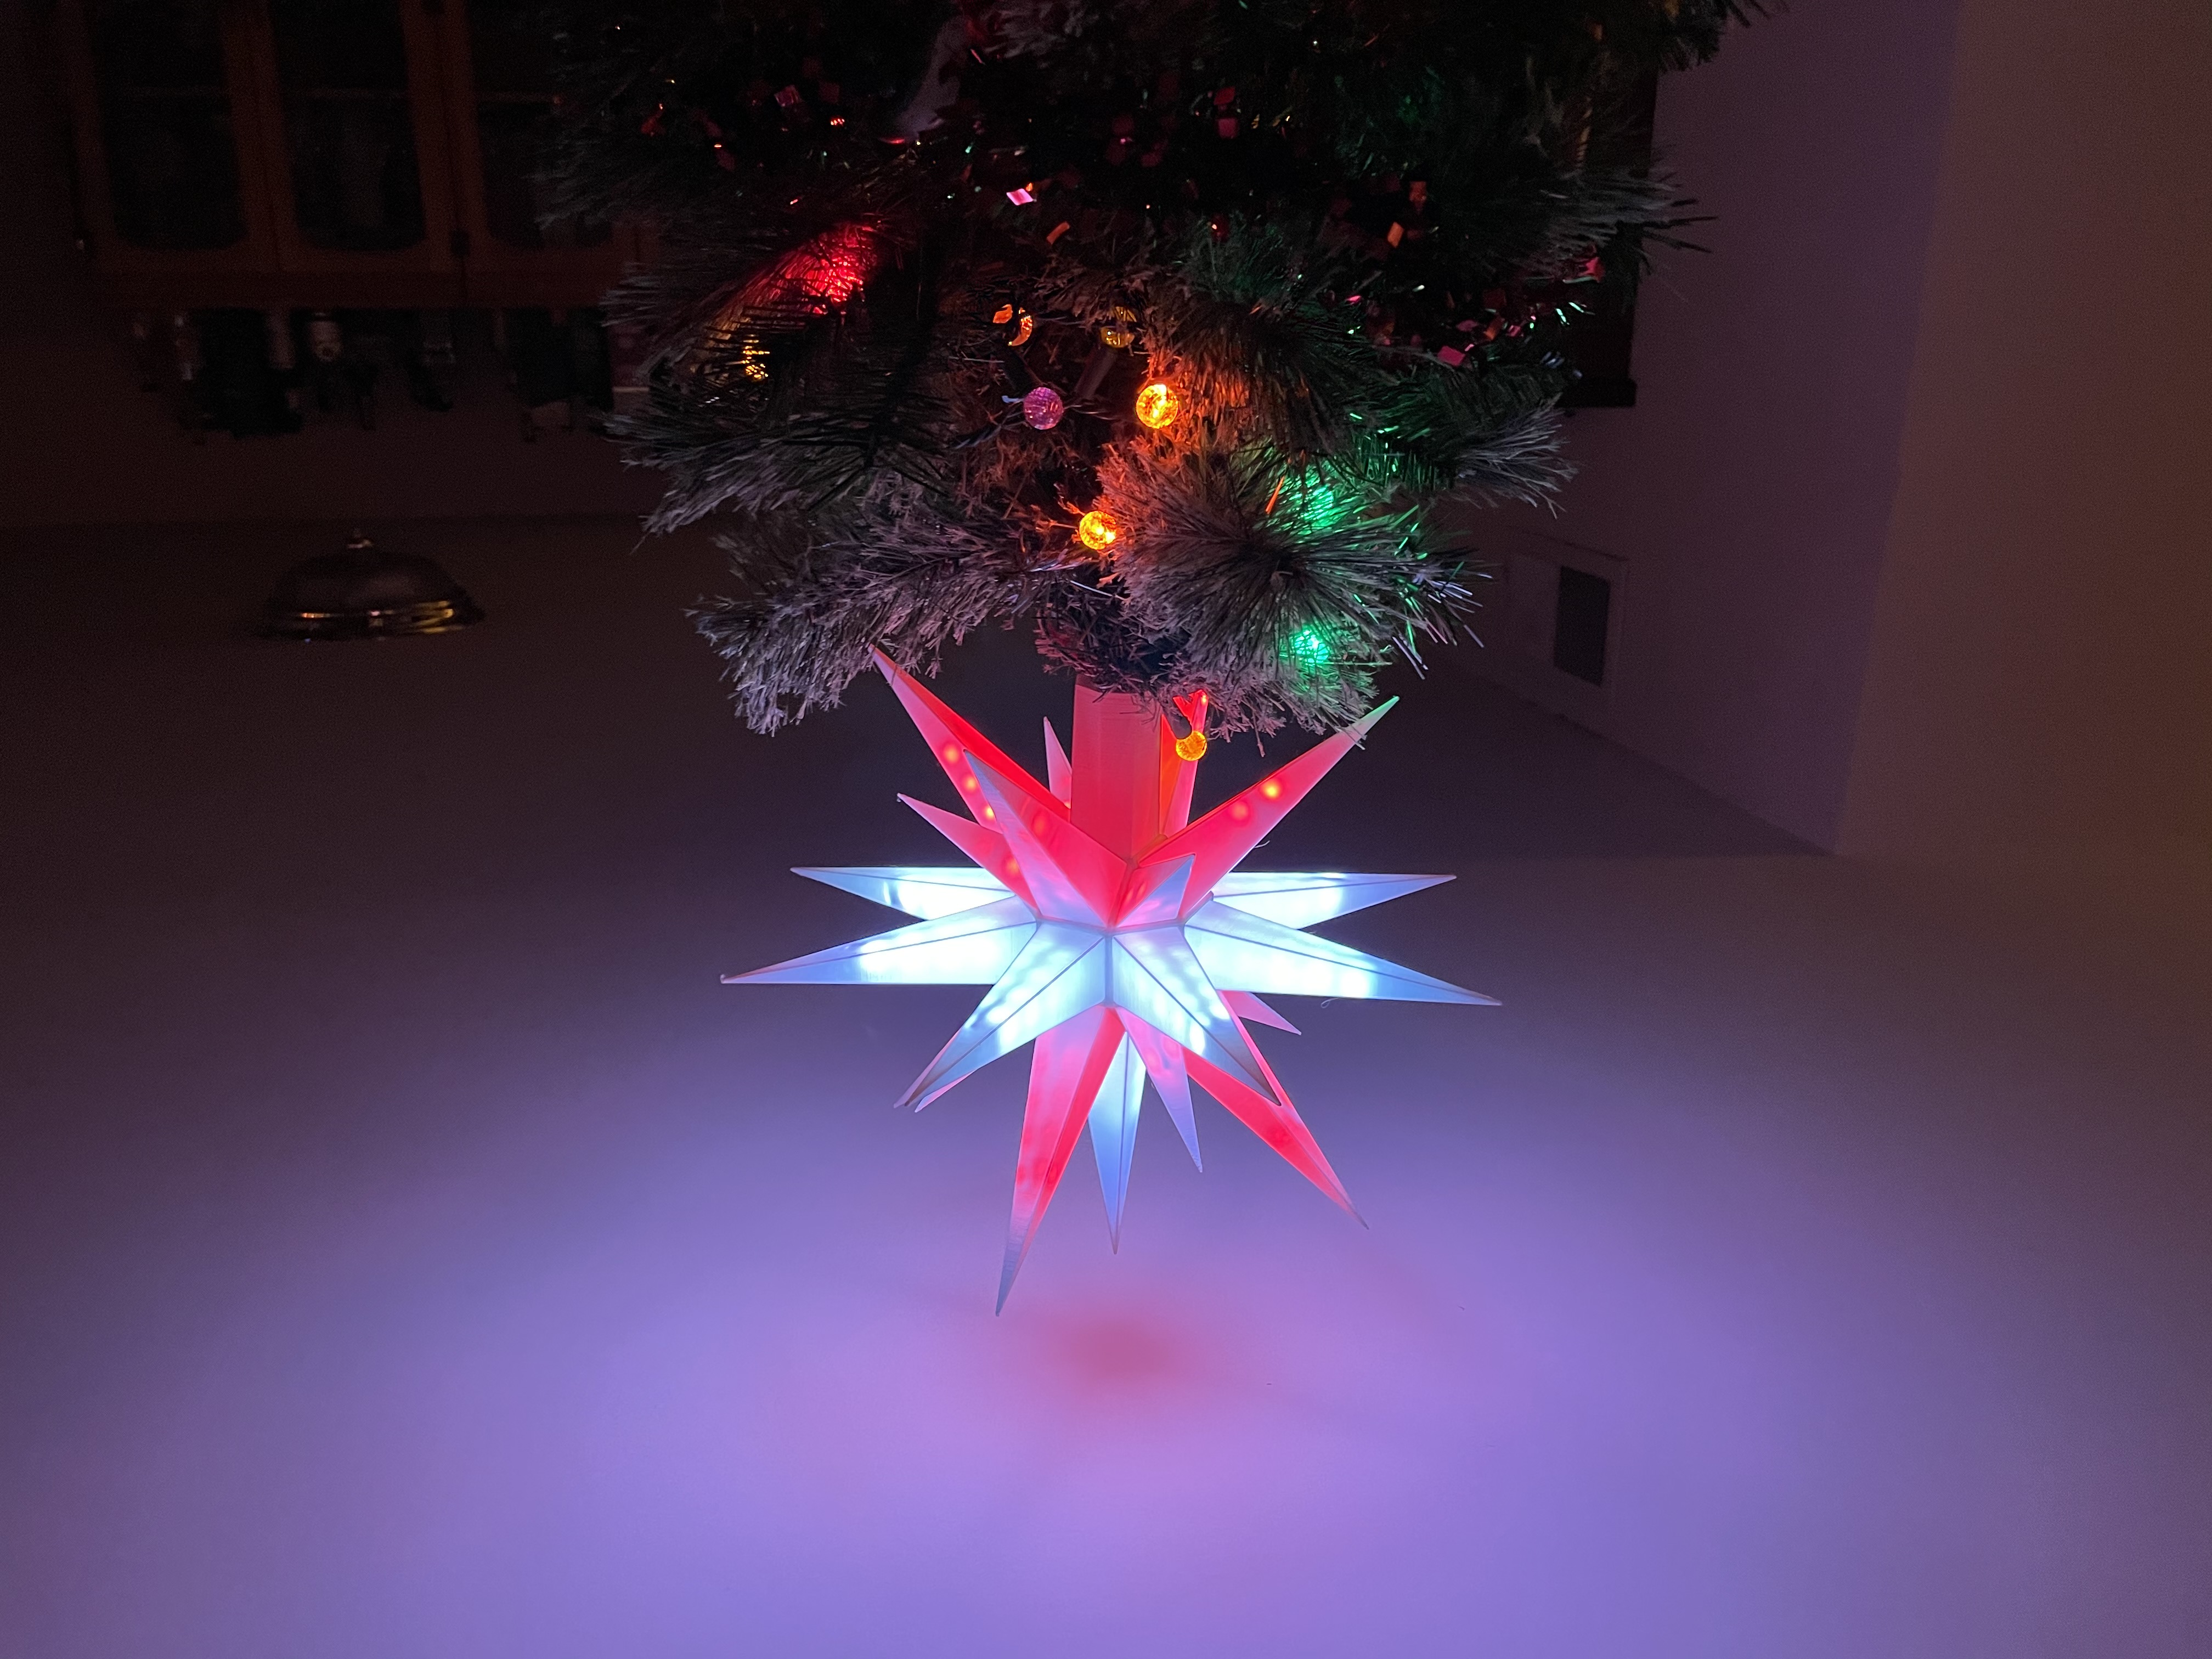
Programming and Installation
With the star fully-wired and assembled I spent another evening writing a bunch of different lighting modules. Each module features a different method of lighting and animating the LEDs.