3D Printed HOTAS Mount
Realizing a childhood dream
One of my earliest gaming memories is sitting in front of our family TV with a SpectraVideo Quickshot and the Atari Video Touch Pad playing Star Raiders.


I spent a lot of time imagining I was a space fighter pilot with my own spaceship, exploring the galaxy. Having those special controllers added a sense of realism that went beyond the simple Atari graphics. I felt so much like Luke Skywalker even though I was just sitting on our living room rug.
Fast forward a few years and I am playing Microsoft Flight Simulator 4.0 on our Tandy 386. I used an Interact M Flight Force joystick. Despite the name, it did not have force feedback (Microsoft’s Sidewinder Force Feedback Pro wouldn’t come out for several more years in 1997).
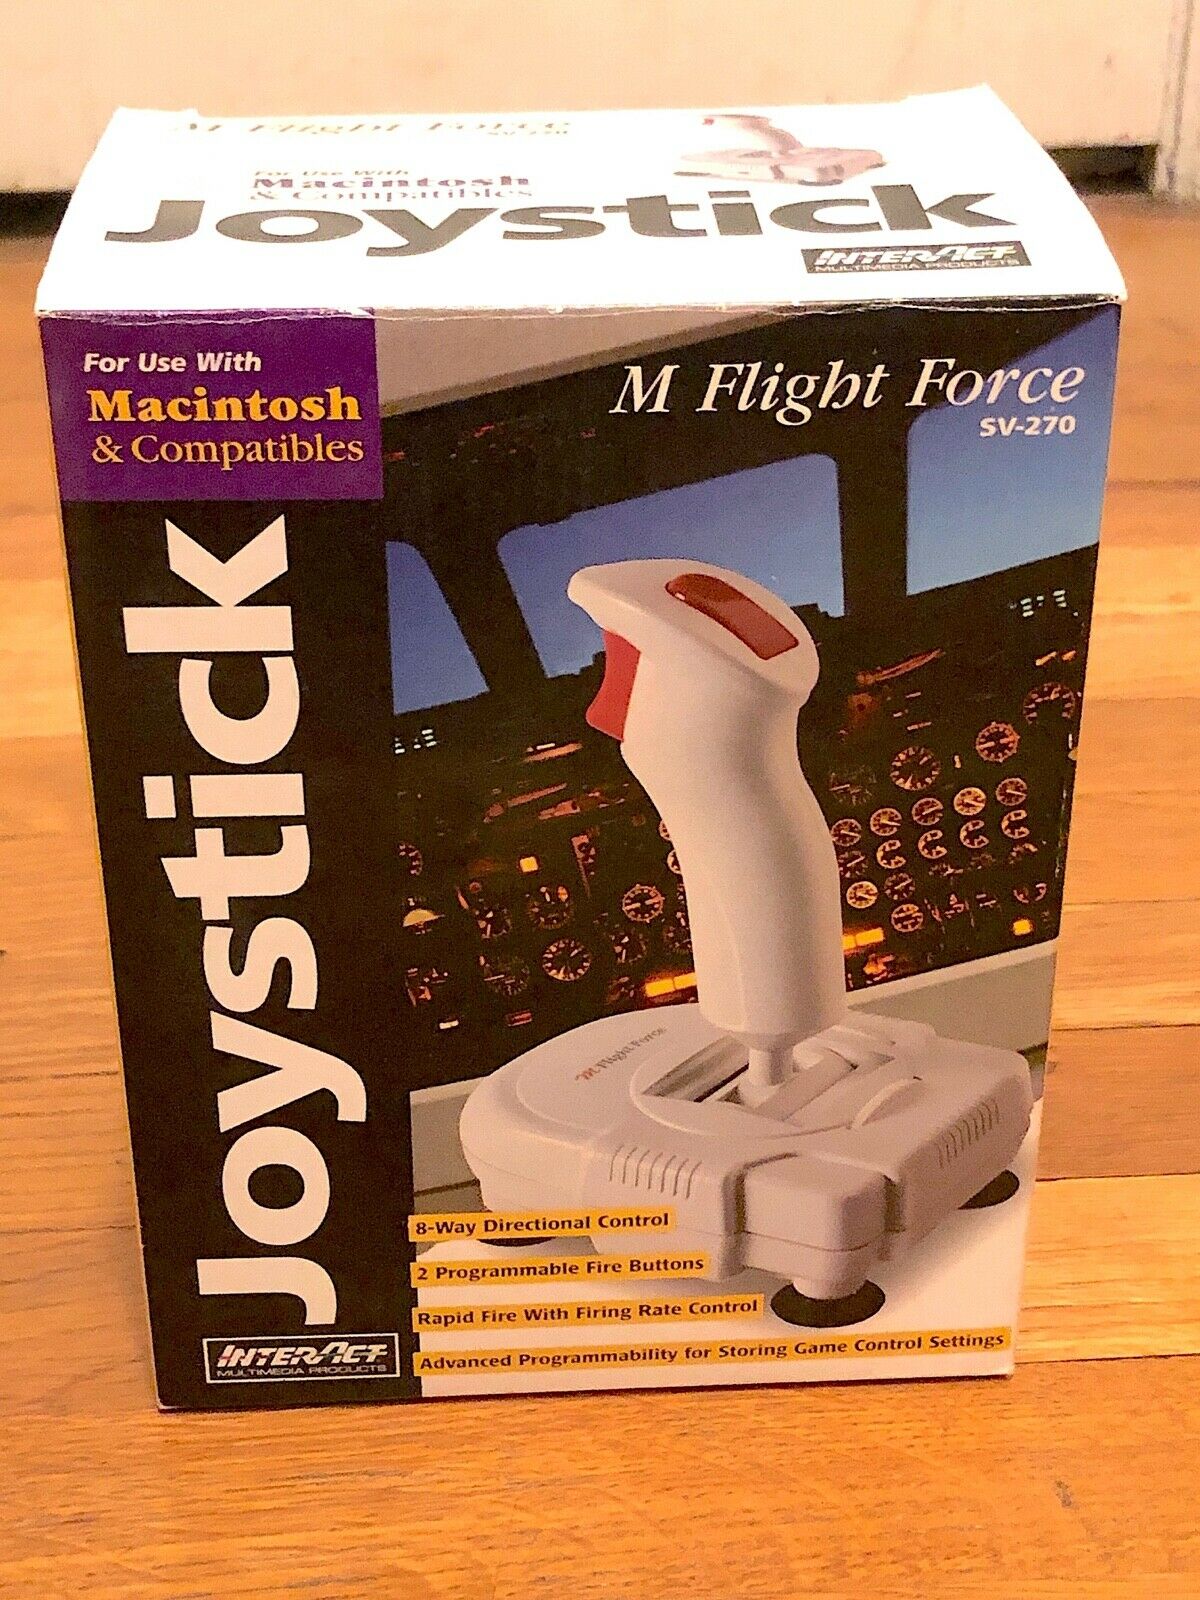

Mostly, I would take off in a Cessna, fly around for a bit, then crash into one of the buildings. Restart. Repeat. It was a simple loop but it was entertaining enough. I didn’t really pay attention to the gauges and indicators. I certainly didn’t go anywhere when I flew.
One night, a family friend visited who happened to be a real life pilot! He took some time to show me how to set up the navigation and COM radios on the plane, adjust the trim on my joystick, and how to approach-flare-touchdown when landing. After that I started playing more seriously. I took notes about my flights and focused on safe landings. I still crashed on purpose sometimes but that was less satisfying. I started pretending I was an earth pilot just like I had pretended I was a space pilot. Having a real joystick was a huge part of that experience.
Recently, I’ve decided to try too recapture some of that magic with modern hardware and software. I bought a VKB Kosmosima joystick and I’ve been playing Elite Dangerous, Digital Combat Simulator (DCS), and Microsoft Flight Simulator 2020. I needed a way to mount the joystick to my chair.
“A fulcrum on which to place it”
Most modern flight controllers can be more or less plopped on top of your desk and you’re good to go. However, this can lead to ergonomic problems and doesn’t always feel as real as you might hope. Trying to improve this leads into an adjacent hobby which involves designing and building custom simpits (simulator cockpits). These can be quite elaborate. However, the primary goal is to place the controls so they more closely match the craft that is being simulated.
In my case, I don’t have room for a dedicated simpit. I have an existing desk and chair setup where I do my work and my gaming. Any hardware I add needs to sit out of the way or be easy to move.
There are some common off-the-shelf options for securely mounting a joystick to your desk in a lowered position, but they are generally pretty pricey. VKB’s version is very high quality but would run at least $220 for a set of 2 (one for a joystick, one for throttle). Additionally, my desk has a keyboard tray right where that style of mount would clamp on.
There are also freestanding options like the Wheel Stand Pro line of products but those are also in the $300+ range.
I decided to explore a DIY approach first.
Making my 3D printer pay for itself
I began designing a 3D printable mount which would:
- Attach to the Kosmosima's "Gunfighter mkIII" base
- Attach to my chair
- Hold the stick in a comfortable position
- Support the stick while being pushed and pulled with a minimal amount of wiggle
- Be removable
My joystick order was in so the clock was ticking to get a working design together!
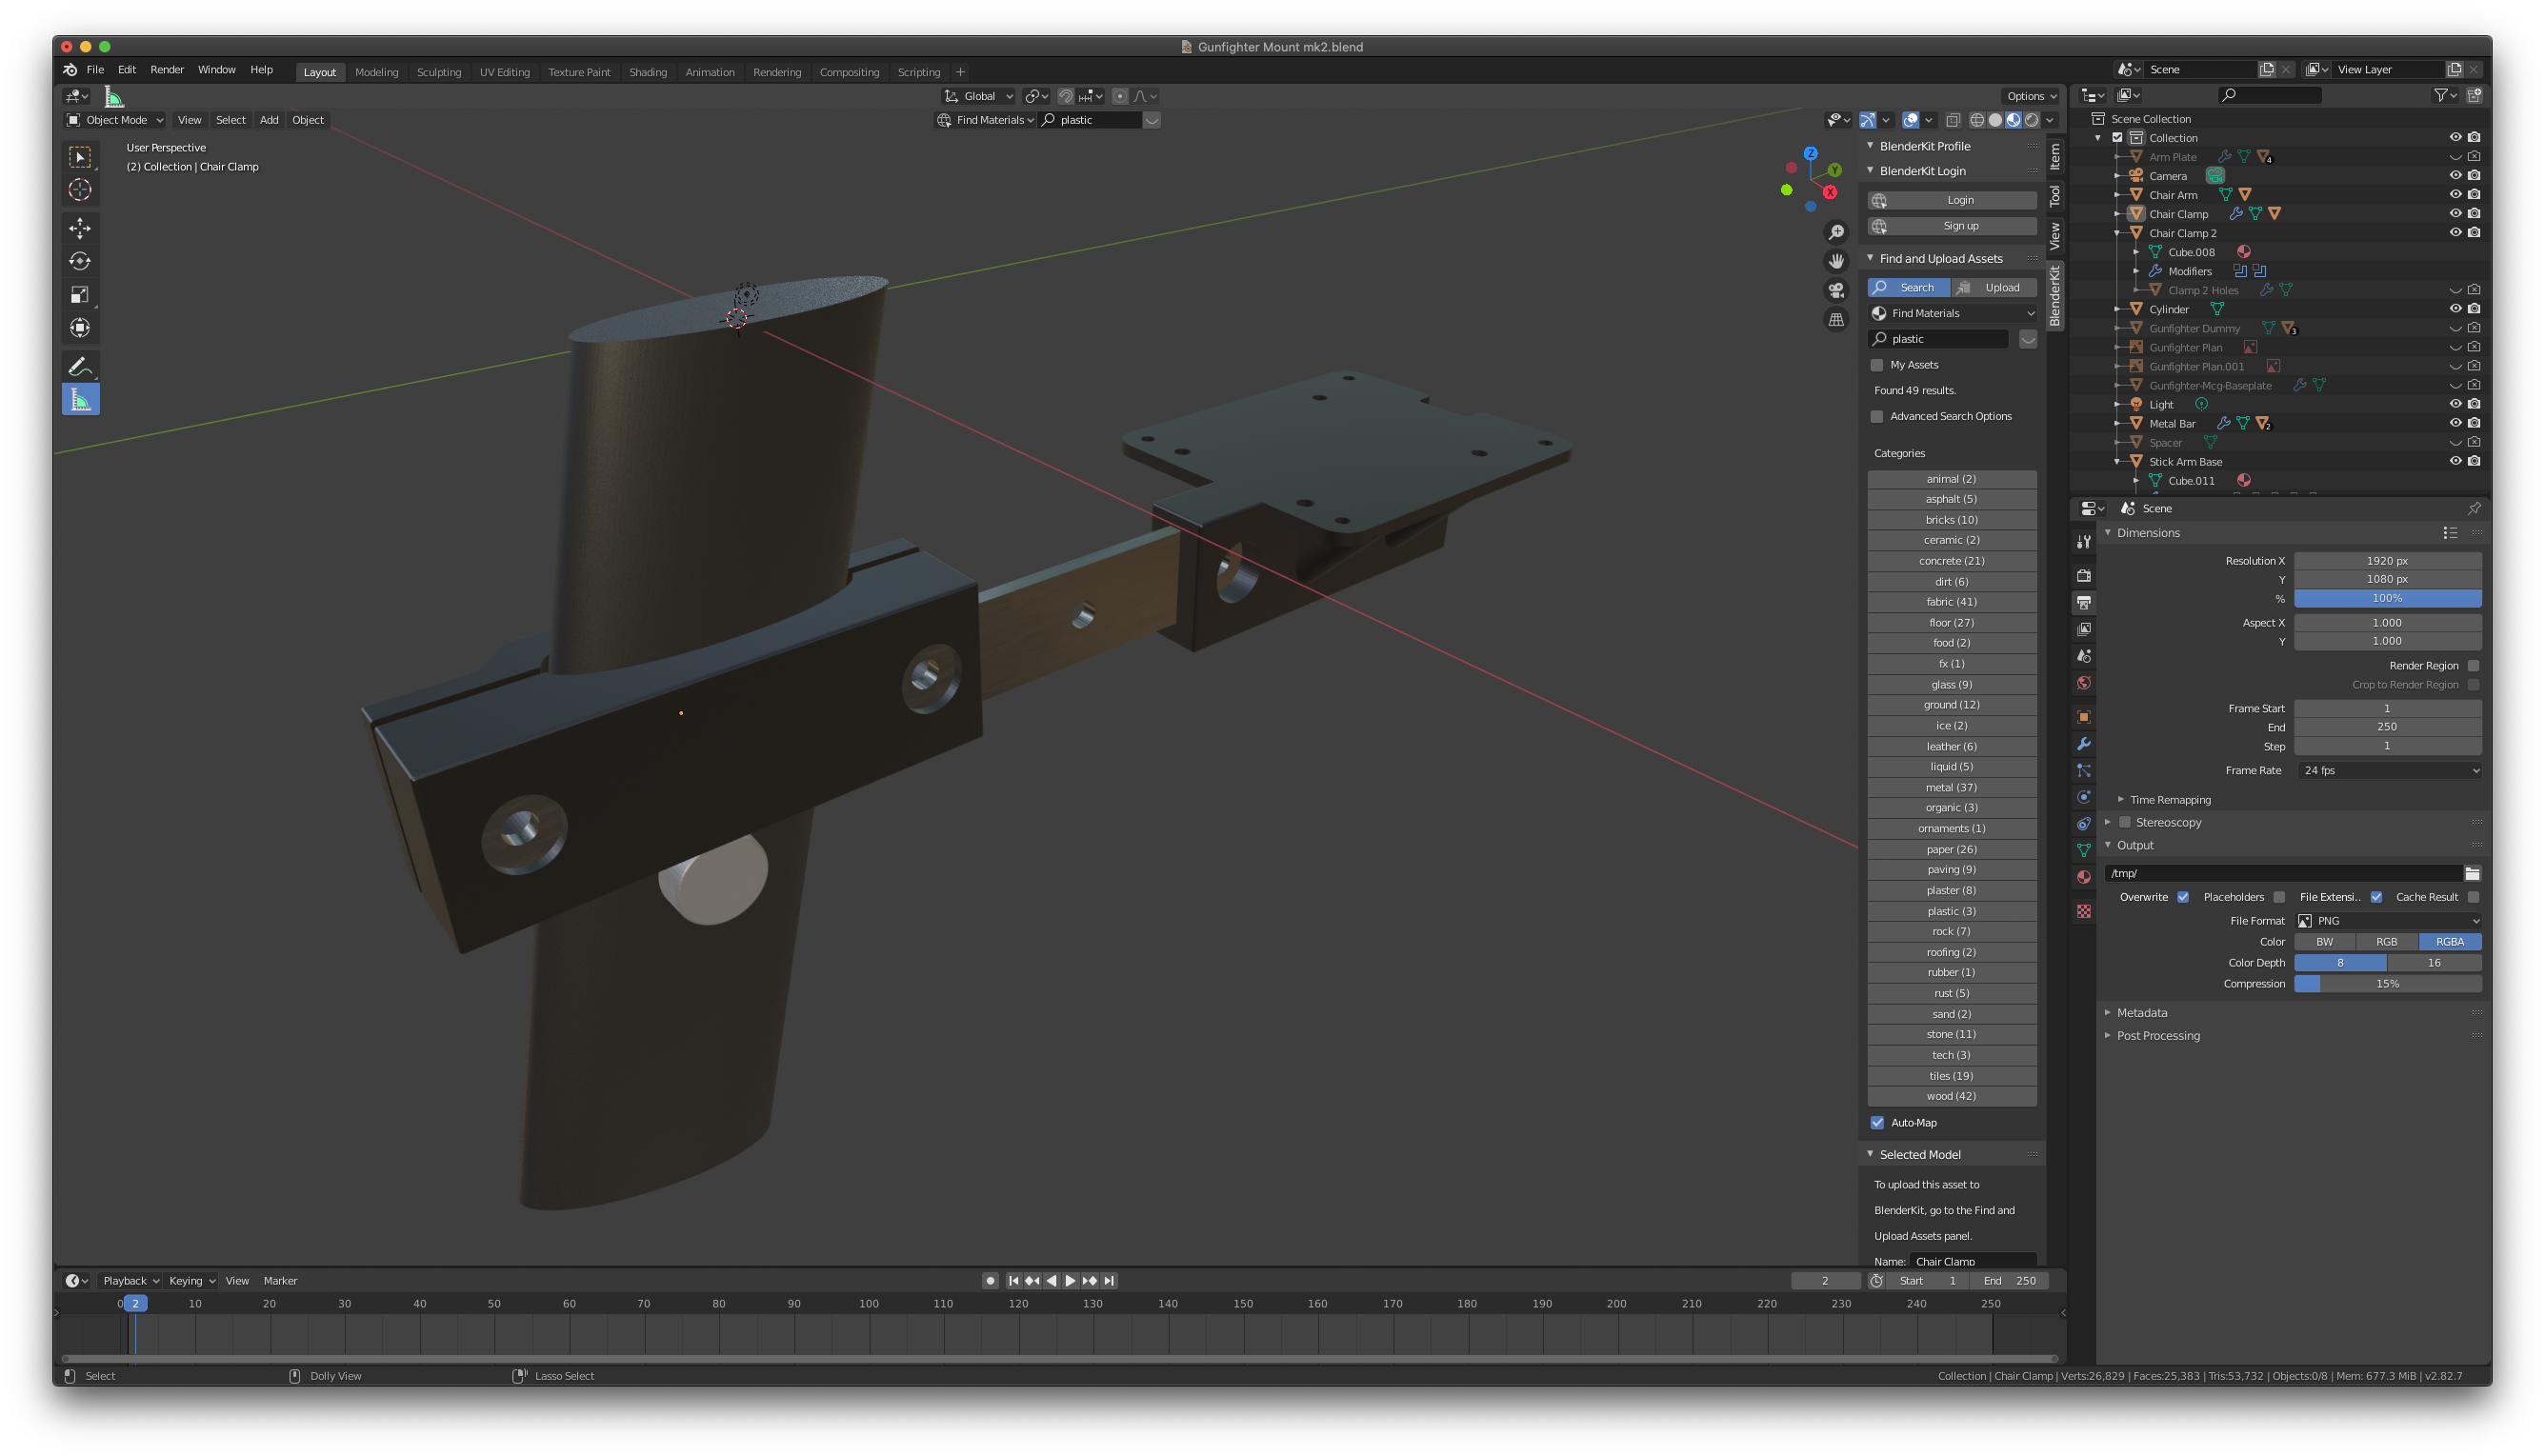
I took some measurements of my chair and sketched them out. Then, I grabbed a schematic for the stick (thanks VKB!) and brought that into Blender to create a properly sized dummy joystick so I could test positioning.


I figured out how far forward and down from the arm pads of the chair I wanted the joystick to be and set up a Blender project with the chair arm and the dummy stick in the right position. From there I modelled a two-piece attachment which would be bolted in between the chair arm and the arm pad and extend a Gunfighter-compatible baseplate for mounting the joystick:
This version of the mount was not good. It placed the controller properly but had a huge amount of flex. Moving the dummy stick forward caused it to bend down significantly. After a few minutes of testing I managed to crack the mount on the corner where it connected to the chair. Despite the flaws, my favorite part of this design are the three chunky supports running down the middle of piece. They were incredibly strong given how little material they required.
I stashed the first design iteration and went back to the drawing board. And by “drawing board”, I mean hardware store.
Version Two
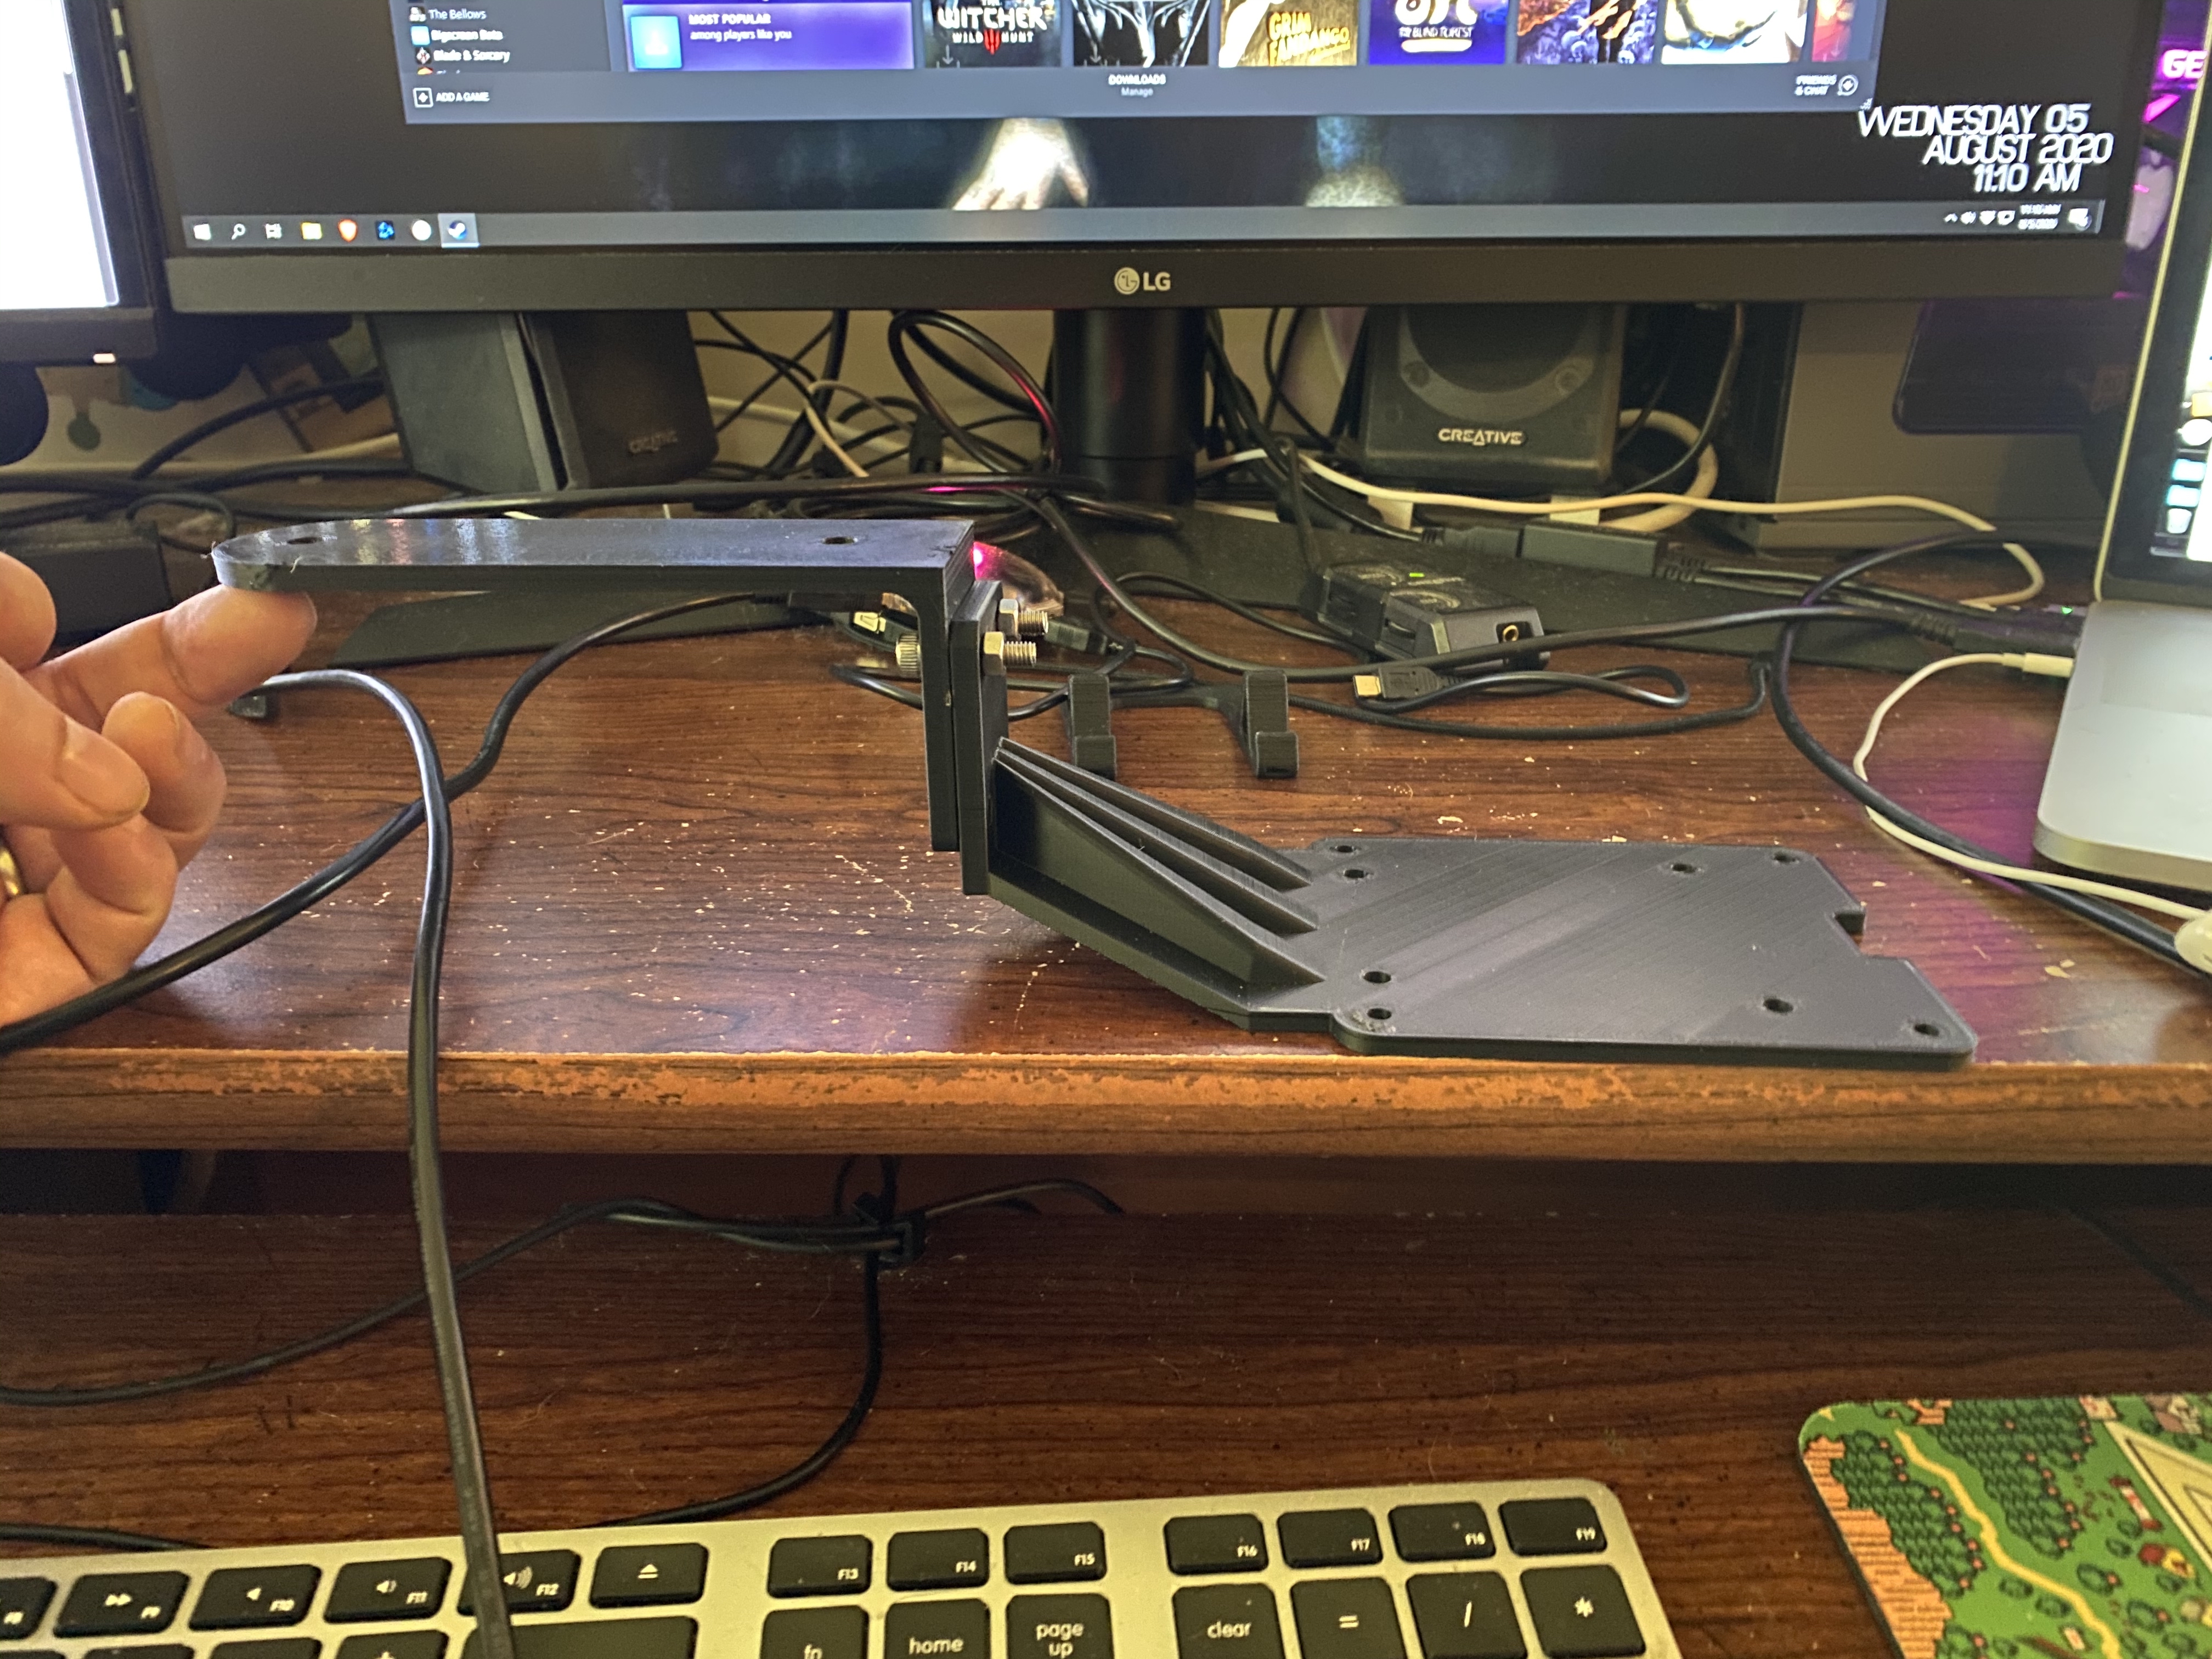
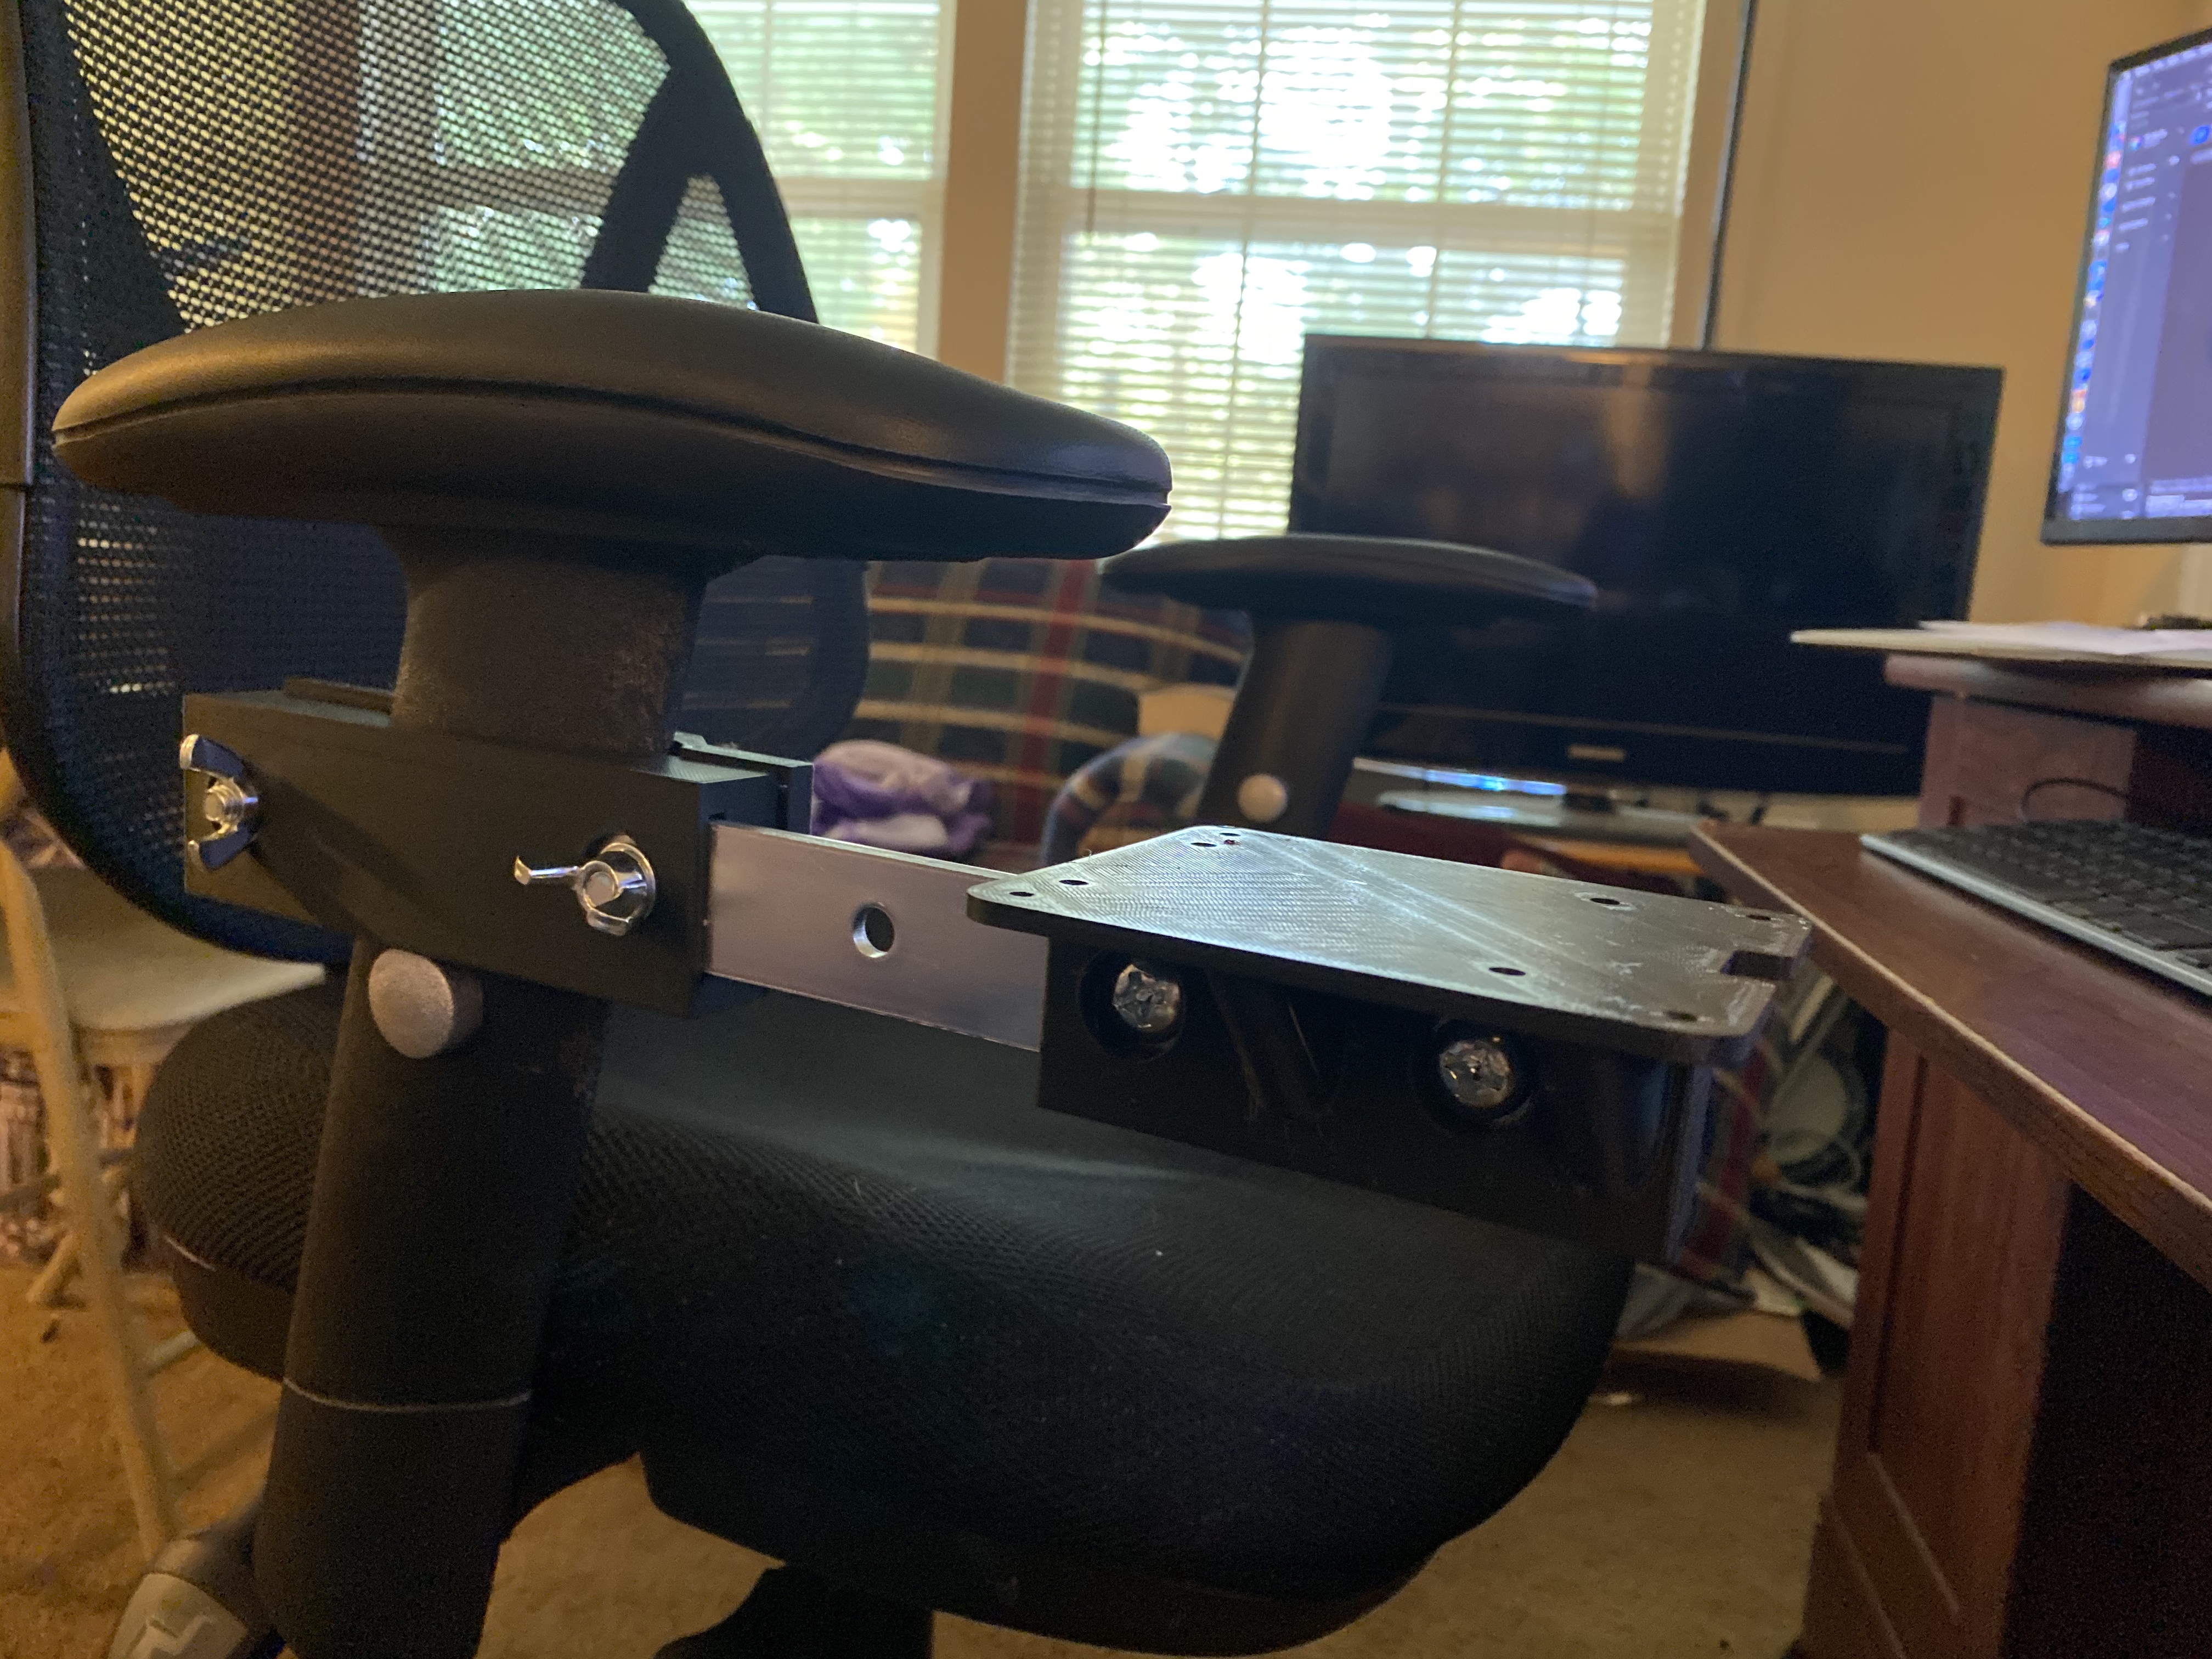
At the hardware store I picked up two 30cm metal bars with a series of pre-drilled holes along with a bunch of M8 bolts. The new design would focus on securing the chair on one side and the joystick base on the other with the solid metal bar providing stability throughout the whole assembly. I modeled the bar and holes in Blender and positioned it so that the holes could fit around the arm of the chair. I then modelled two 3D printed parts.
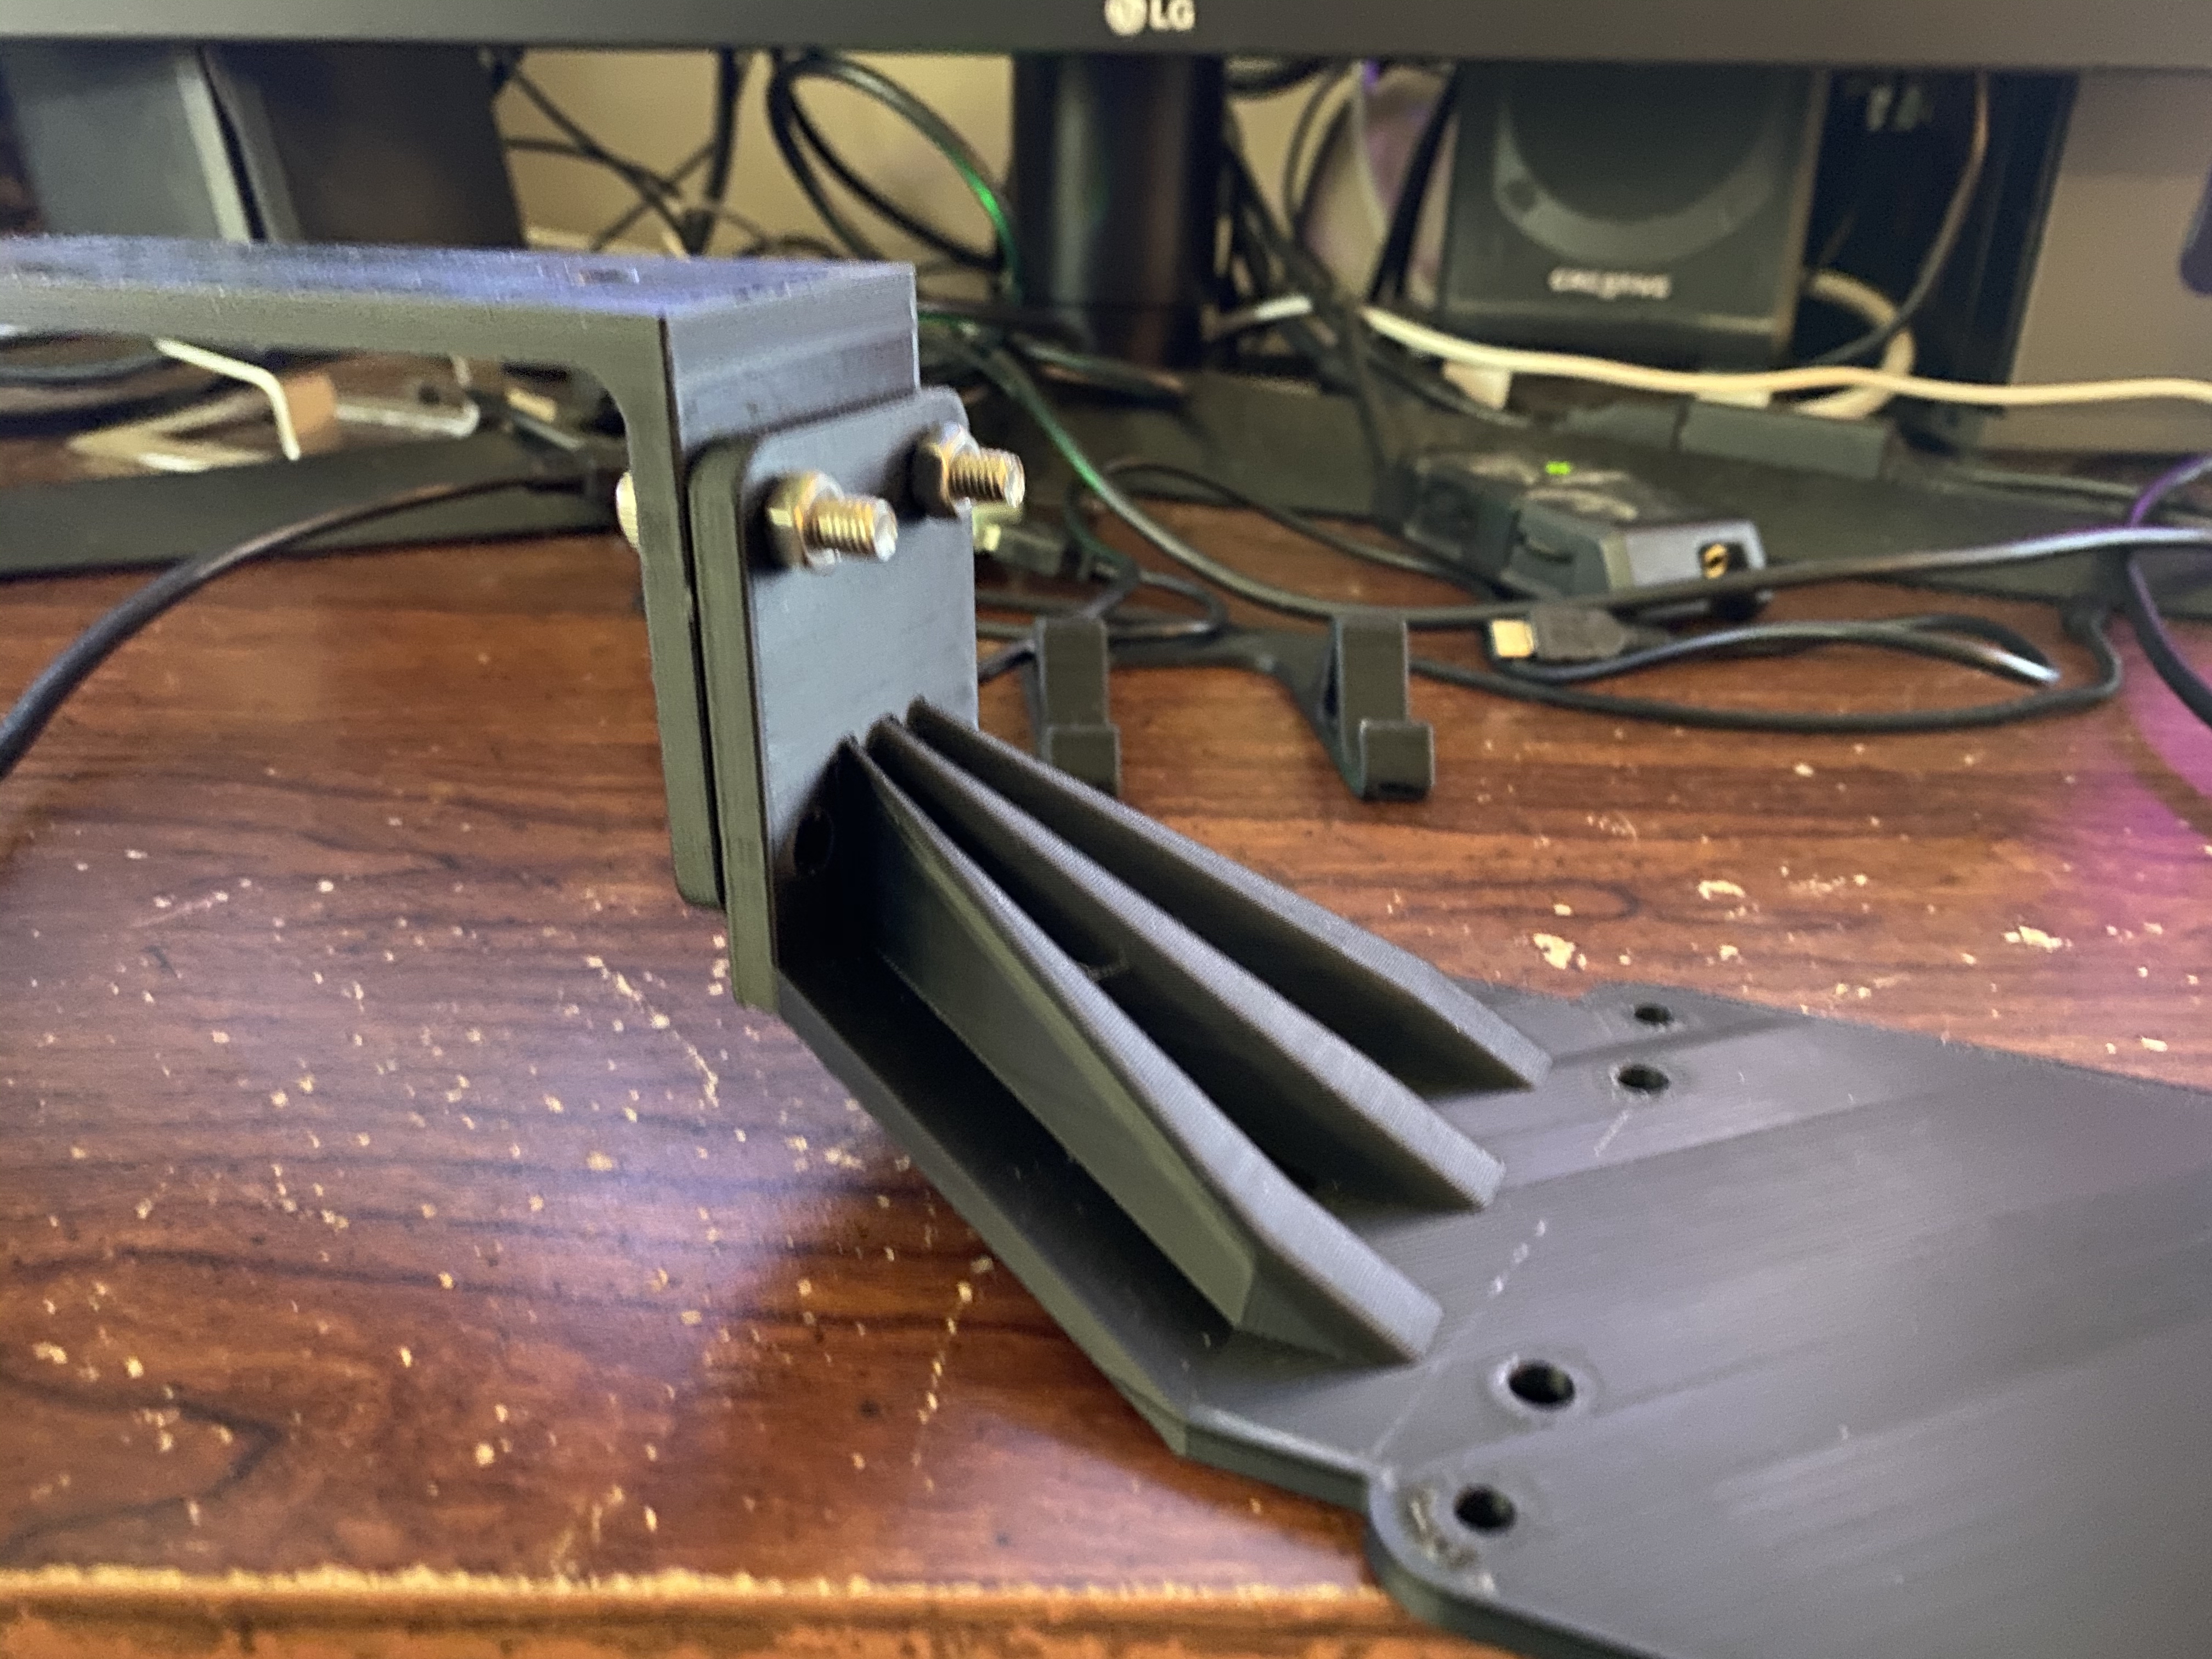
The joystick mount included the baseplate from the original design positioned so that the metal bar would support its full weight. The metal bar slides into a slot in the rectangular block below the base plate. Finally, I added four chunky supports to direct lateral force from the base plate directly into the sides of the metal bar.
The chair mount was designed to fit snugly around the arm of my chair and clamp together with two bolts. The arm profile is a sort of ovoid shape. I used a boolean modifier to carve this shape out of the clamp pieces for a tight fit.
Each 3D printed part includes a slot to fit the metal bar with large holes on one side. The large holes allowed the bolts to press up directly against the metal bar without having to squeeze 3D printed plastic on both sides. This made the connection between the bar, the mount, and the chair super secure and firm.

Printing and assembly
I quickly got to printing out the pieces in a nice low-profile black. Time was almost out and my package was scheduled to arrive a day early! The last piece came off of the print bed only a few hours before the stick arrived.
I unboxed the stick (a truly premium experience) and got everything assembled. The slots for the metal bar were a bit snug and needed some encouragement to slide in all the way but otherwise the assembly was perfect. I bolted everything together. The whole assembly is incredibly rigid even when pushing the stick to max deflection.


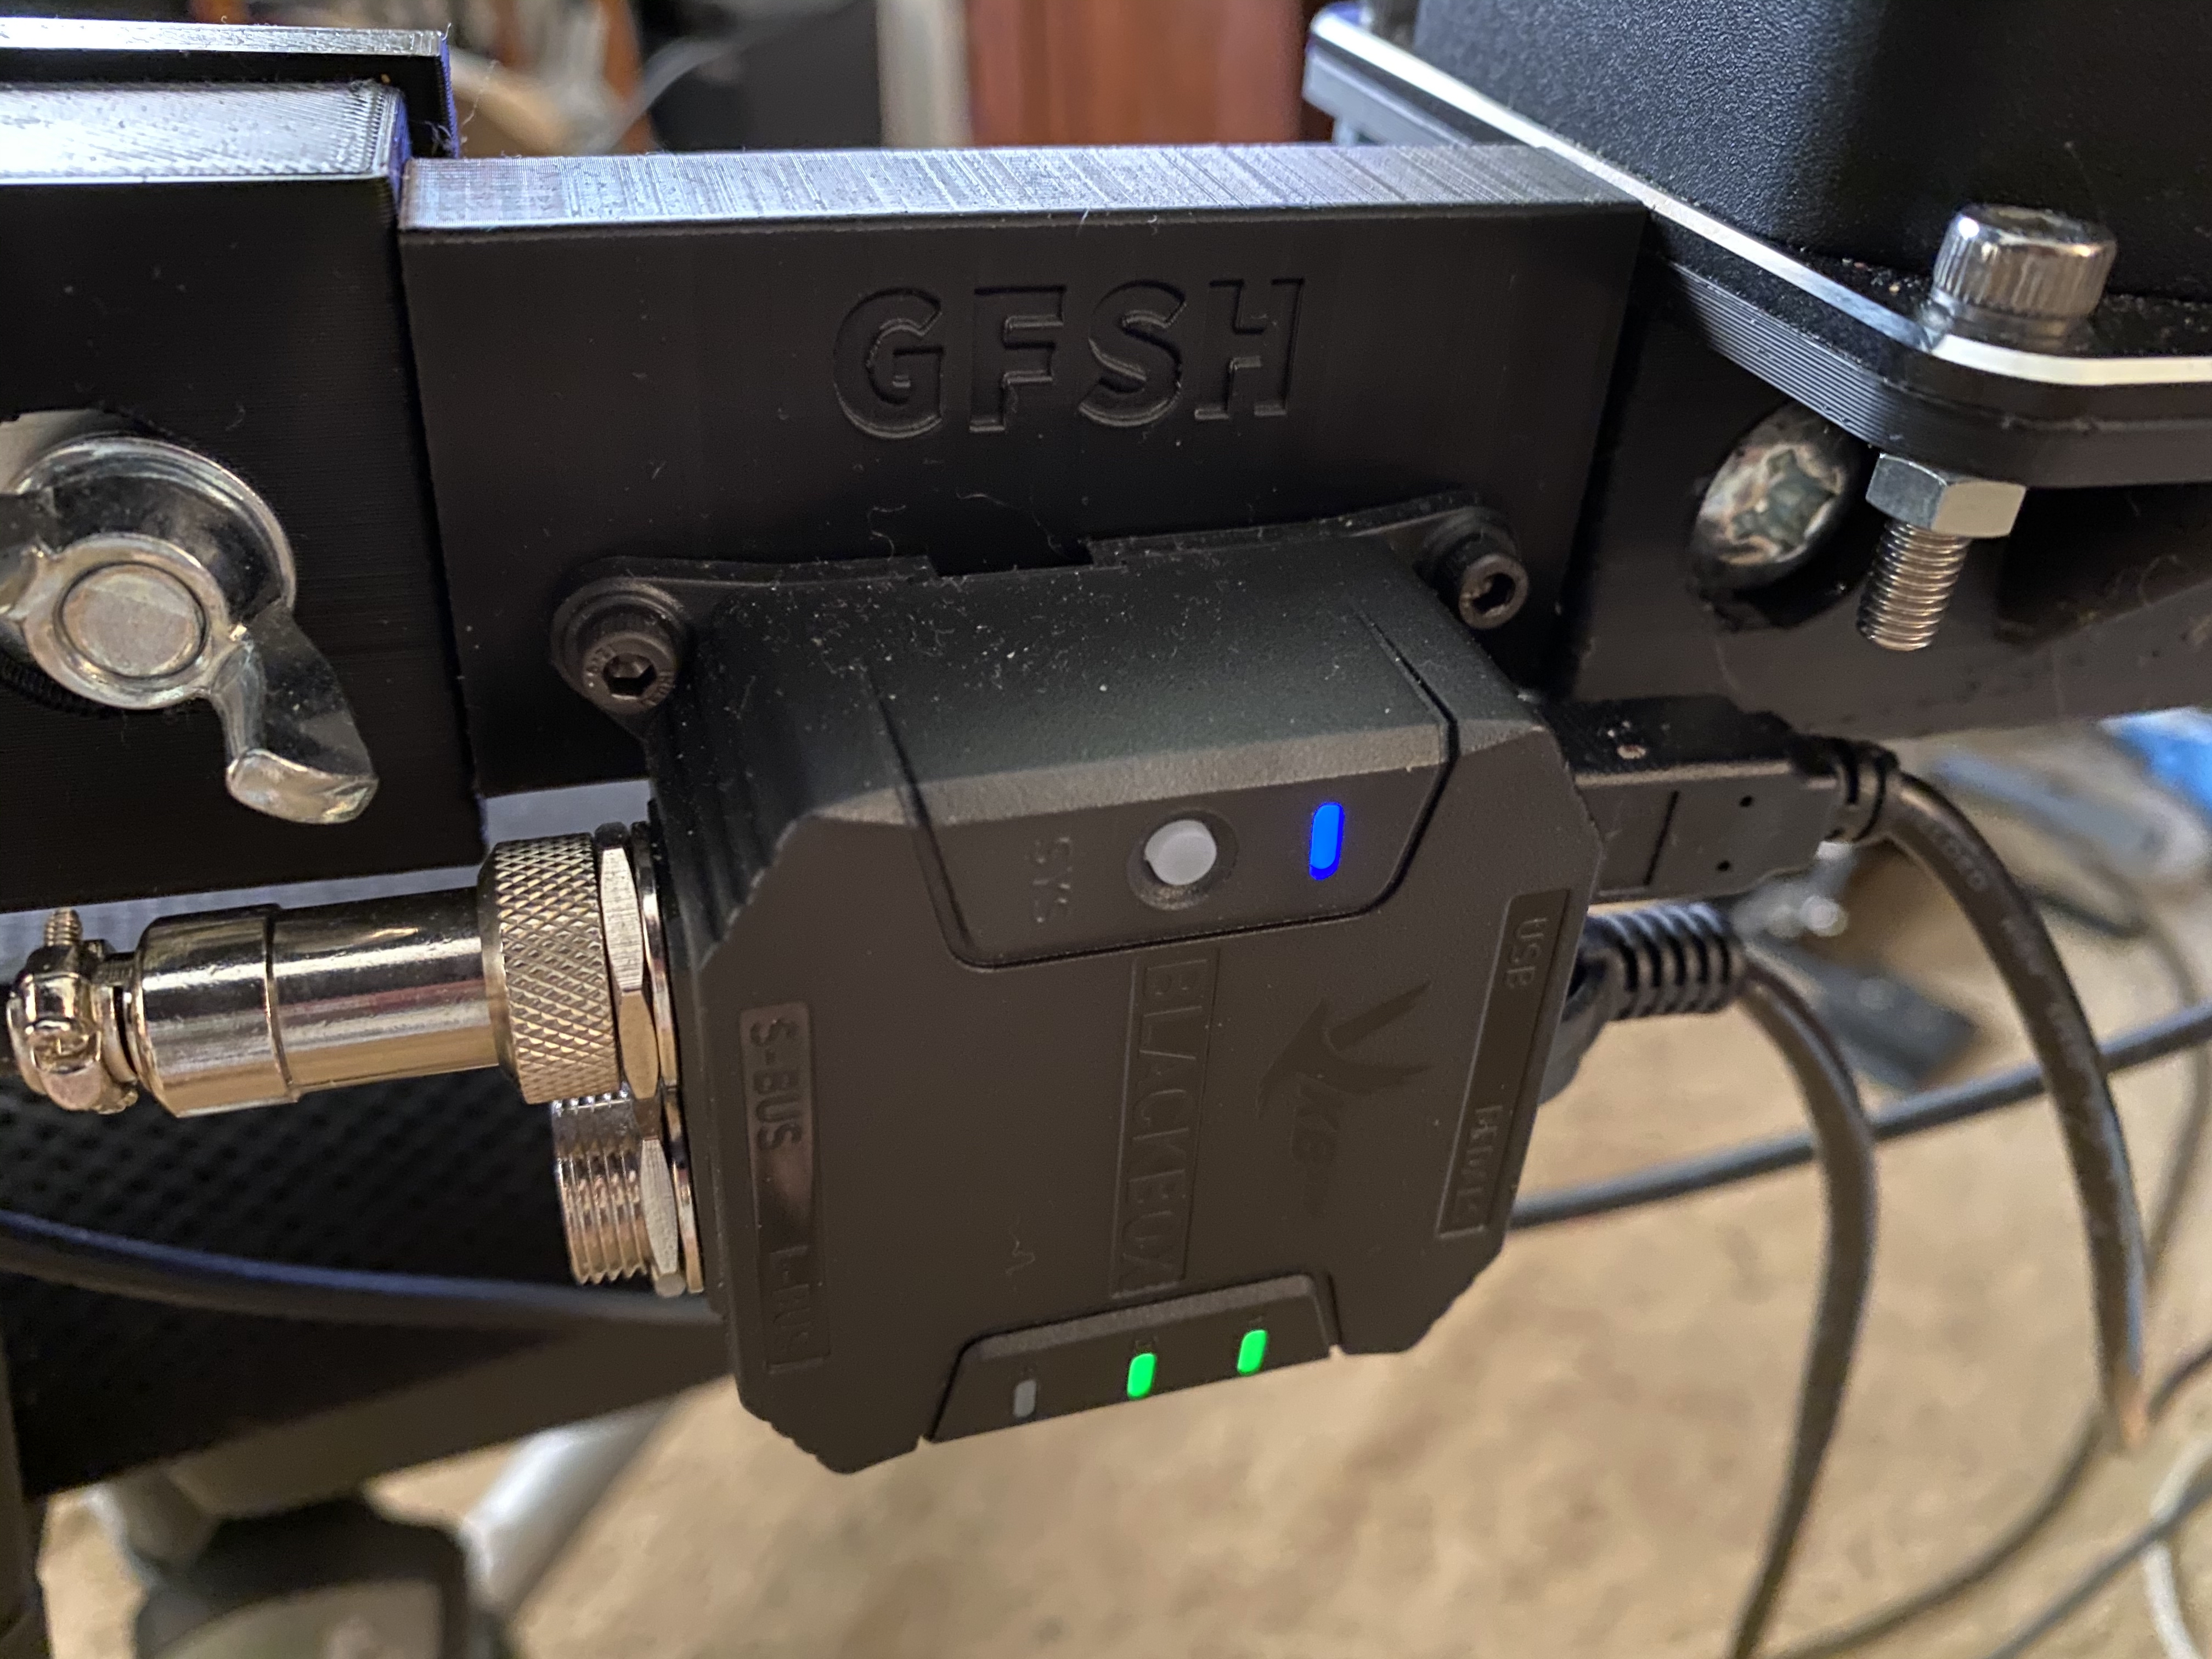
I printed a matching assembly for the left side to hold a throttle (future post pending) as well as a slide on mount (with my tail number: Golf Foxtrot Sierra Hotel) for the joystick’s black box USB connection:

Result
I am thrilled with the setup. It looks nice and stays out of my way when I’m working. It’s even more stable than I expected. It’s completely non-destructive to the chair.
The total cost for both the left and right side mounts came out to about $30 for parts and filament which is much much lower than the desk mounts and floor stands I was looking at.
I had a great time working through the design process. It’s the most involved part I had designed and 3D printed (uup to that point) and has had the highest requirement for strength and stability of anything I’ve made.